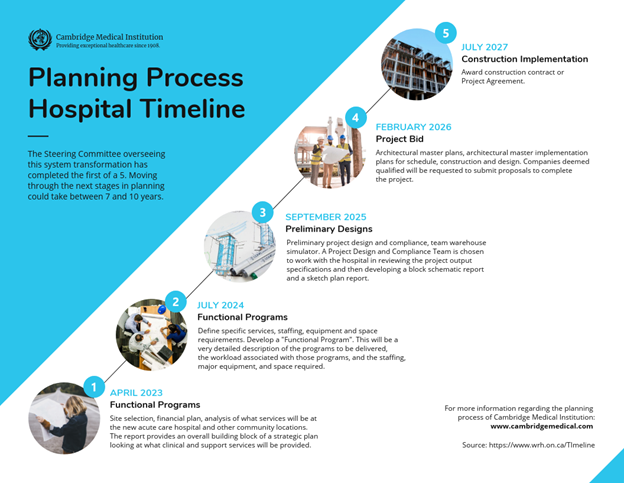
Creating infographics is becoming more and more popular. But you don’t always need to make an expensive timeline infographic using Illustrator or Photoshop.
Take a look at this timeline created by Venngage; it’s clean, simple to edit, and gives you the freedom to customize. It doesn’t take much time to make your timeline with Venngage timeline maker.
There are no timeline tools that allow you to create a timeline with just copy and paste. You have to do a lot of formatting if the timeline template is new to you. But the Venngage timeline tool helps you create a timeline without coding knowledge.
It’s straightforward to edit the timeline in Venngage, unlike other timeline creation tools. You can add timeline images in a timeline using Venngagetimeline creator, and it’s so easy to share the timeline on social media.
With this, here are the 12 easy hacks we learned from this fantastic timeline creator.
Make timeline PowerPoint images the correct size
Most of the creators don’t know about image size or pixel dimensions. You can find it in the ‘Info’ tab, and then you have to enter the extent given to you by your designer/developer team.
Too small images can make your timeline look cluttered and confusing. Too big photos will make the text look too small and unreadable (you may want to give a link on your website, not a picture of it).
Try to use as few words as possible in creating a timeline
After knowing the size, you know what’s the maximum number of characters per line. This is very important because more than 80% of people read only every paragraph’s first and last sentence.
If you have more text, your timeline will get messy. The viewer’s attention span is minimal, so don’t include everything in one picture. Use a mind map or an excel spreadsheet to cover every point you want in the timeline before starting.
Make your PowerPoint timeline template as interactive as possible
Interactive timeline templates are fantastic, and they help you to engage more people with your infographic. You can use Venngage’s social media integrations and embed the link on every time slot instead of an image.
This is an excellent opportunity to increase your organic traffic and subscribers. You can add a little bit of interactivity to your timeline using Venngage’s interactive features. It helps viewers navigate through the timeline without too much effort.
Make the timeline numbers readable
For some reason, many people don’t know how to make their timeline numbers readable. First of all, it’s vital that your font size is big enough (you can go up to 200% on most places). And secondly, you have to choose the right color for the fonts.
The best colors for your timeline numbers are anything but black. So it can be blue, green, or red; anything that’s not black will work fine.
Don’t include too much information in your timeline example
It’s a timeline, not a storybook. It should be simple and show a time series of events without going too deep into the details. If you still think that your timeline needs more information to make it enjoyable, you can add links next to every event in the timeline to provide further reading about it.
Keep a consistent tone throughout the project timeline template
It is not only with your font styles and colors but also with your design style. For example, you have to use a certain kind of layout or curve for every event in the timeline, no matter how big or small they are. If you don’t, it will look like different people created.
Try to keep your design style as consistent as possible, and you will make the timeline look astonishing.
Don’t combine too many different styles in a single timeline
Using other infographic elements like charts or infographics should be fine, but don’t mix them with photography or cartoon art styles because it doesn’t look good. The timeline should be straightforward, and it gives you a better chance to attract more people.
Use timeline images instead of text in every timeline slide
If you don’t want to use timeline images, go directly to the ‘Info’ tab and copy the dimensions from there because it will save you time and make your timeline look amazing at the same time. But if you are still using text, you have to make sure that your timeline is big enough to read it correctly. There’s nothing worse than reading a timeline that has too small text.
Remember always to use high-quality images
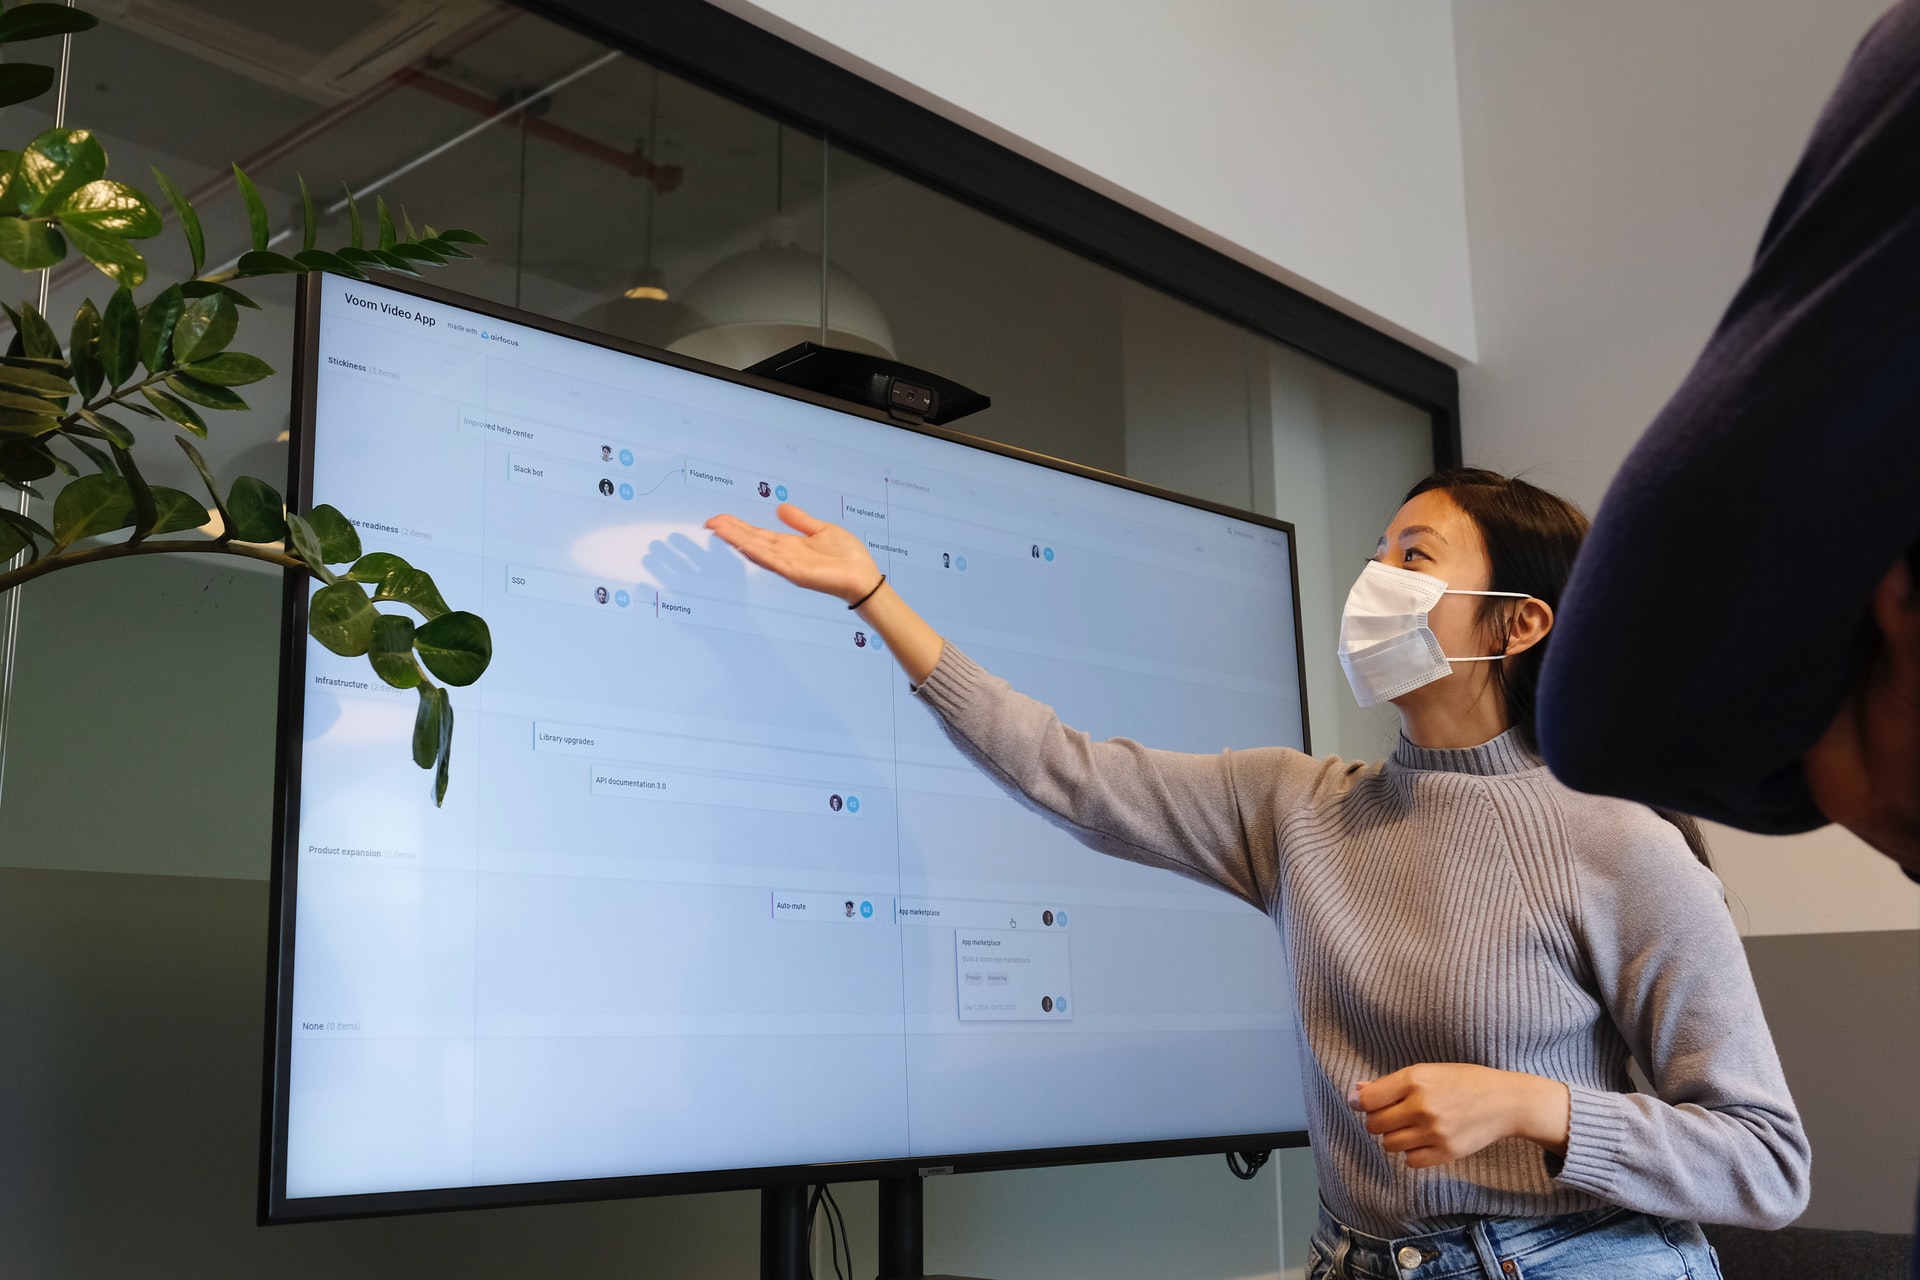
Most of the creators use images taken from Google or ask their friends to make the timeline for them. It’s not very professional (you can notice it, especially when creating timelines for your company).
You should buy high-quality images online, try to find exclusive pictures on Google, Flickr, etc., or ask a friend who is an excellent photographer to make timeline images for you.
You should opt for easy-to-read fonts
You need to use simple fonts because not all of your viewers like fancy, italicized fonts with too many details in the timeline quotes. If you want your timeline to be successful, choose legible and readable fonts.
Add timeline quotes in your timeline slide
It’s better to use timeline quotes instead of timeline annotations because it looks more attractive on the timeline itself, and timeline quotes are always high-quality images that you can’t get with timeline annotations.
Make your timeline interactive by adding links or social media integrations
Adding timeline links to your timeline becomes interactive and more appealing to the timeline viewers. You can also add social media integrations to every timeline so your timeline will look more professional and so people can share their timeline.
You should keep your timeline legible
Remember: the timeline should be easy to read no matter what you do with it! You should choose simple timeline images, simple timeline quotes, and simple timeline fonts.
Use timeline coloring techniques to make it looks professional
You can do that by adding scale colors to the timeline or just color every event with a single color. But if you want your timeline to be successful, don’t forget about coloring techniques!
Conclusion
Remember: timeline can help you show what happened in a particular period, and the timeline should be visually appealing so people will notice it. You have to think about your timeline as a timeline that tells a story because that’s how people look at it.
We hope these timeline design tips helped! We’d love to see your timeline, so please share it with us in the comment section.
If you’re ready to create your timeline, visit timeline maker Venngage and start creating one today!