Giving proper credit where it’s due is absolutely essential, no matter if we’re talking college papers, academic research, or simple blog posts, for that matter.
The more a website grows, the more other content creators will want to collaborate with you. This isn’t only beneficial for them, but you as well. Writing and accepting guest articles is great for link building and audience engagement. And what do you need to ensure every guest post is tip-top? An author box.
What Is an Author Box, and Why Do You Need It?
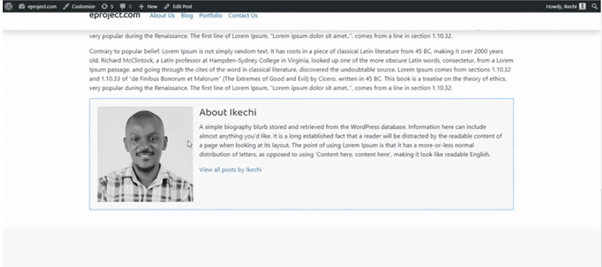
An author box is a small section usually placed at the top or bottom of the page. It may not appear to be a big deal at first, but this is where writers can introduce themselves and include links to their social media and websites.
You can think of an author box as a singular “About Us” page that every author can customize to their liking. And if you understand the significance of an “About Us” page, you’ll understand the significance of the author box. Give proper credit, build links, appear more professional, and put a face to your texts. It accomplishes a great deal.
That being said, the easiest way to add this functionality to your WordPress pages is by installing a plugin, but there are other ways to do it. The first step is to select a theme that includes a pre-optimized author box.
There’s no need to download any additional plugins or go the manual route this way. But, if you don’t have it already, or your theme doesn’t come with this widget, there are also ways you can add a WordPress author box without plugin.

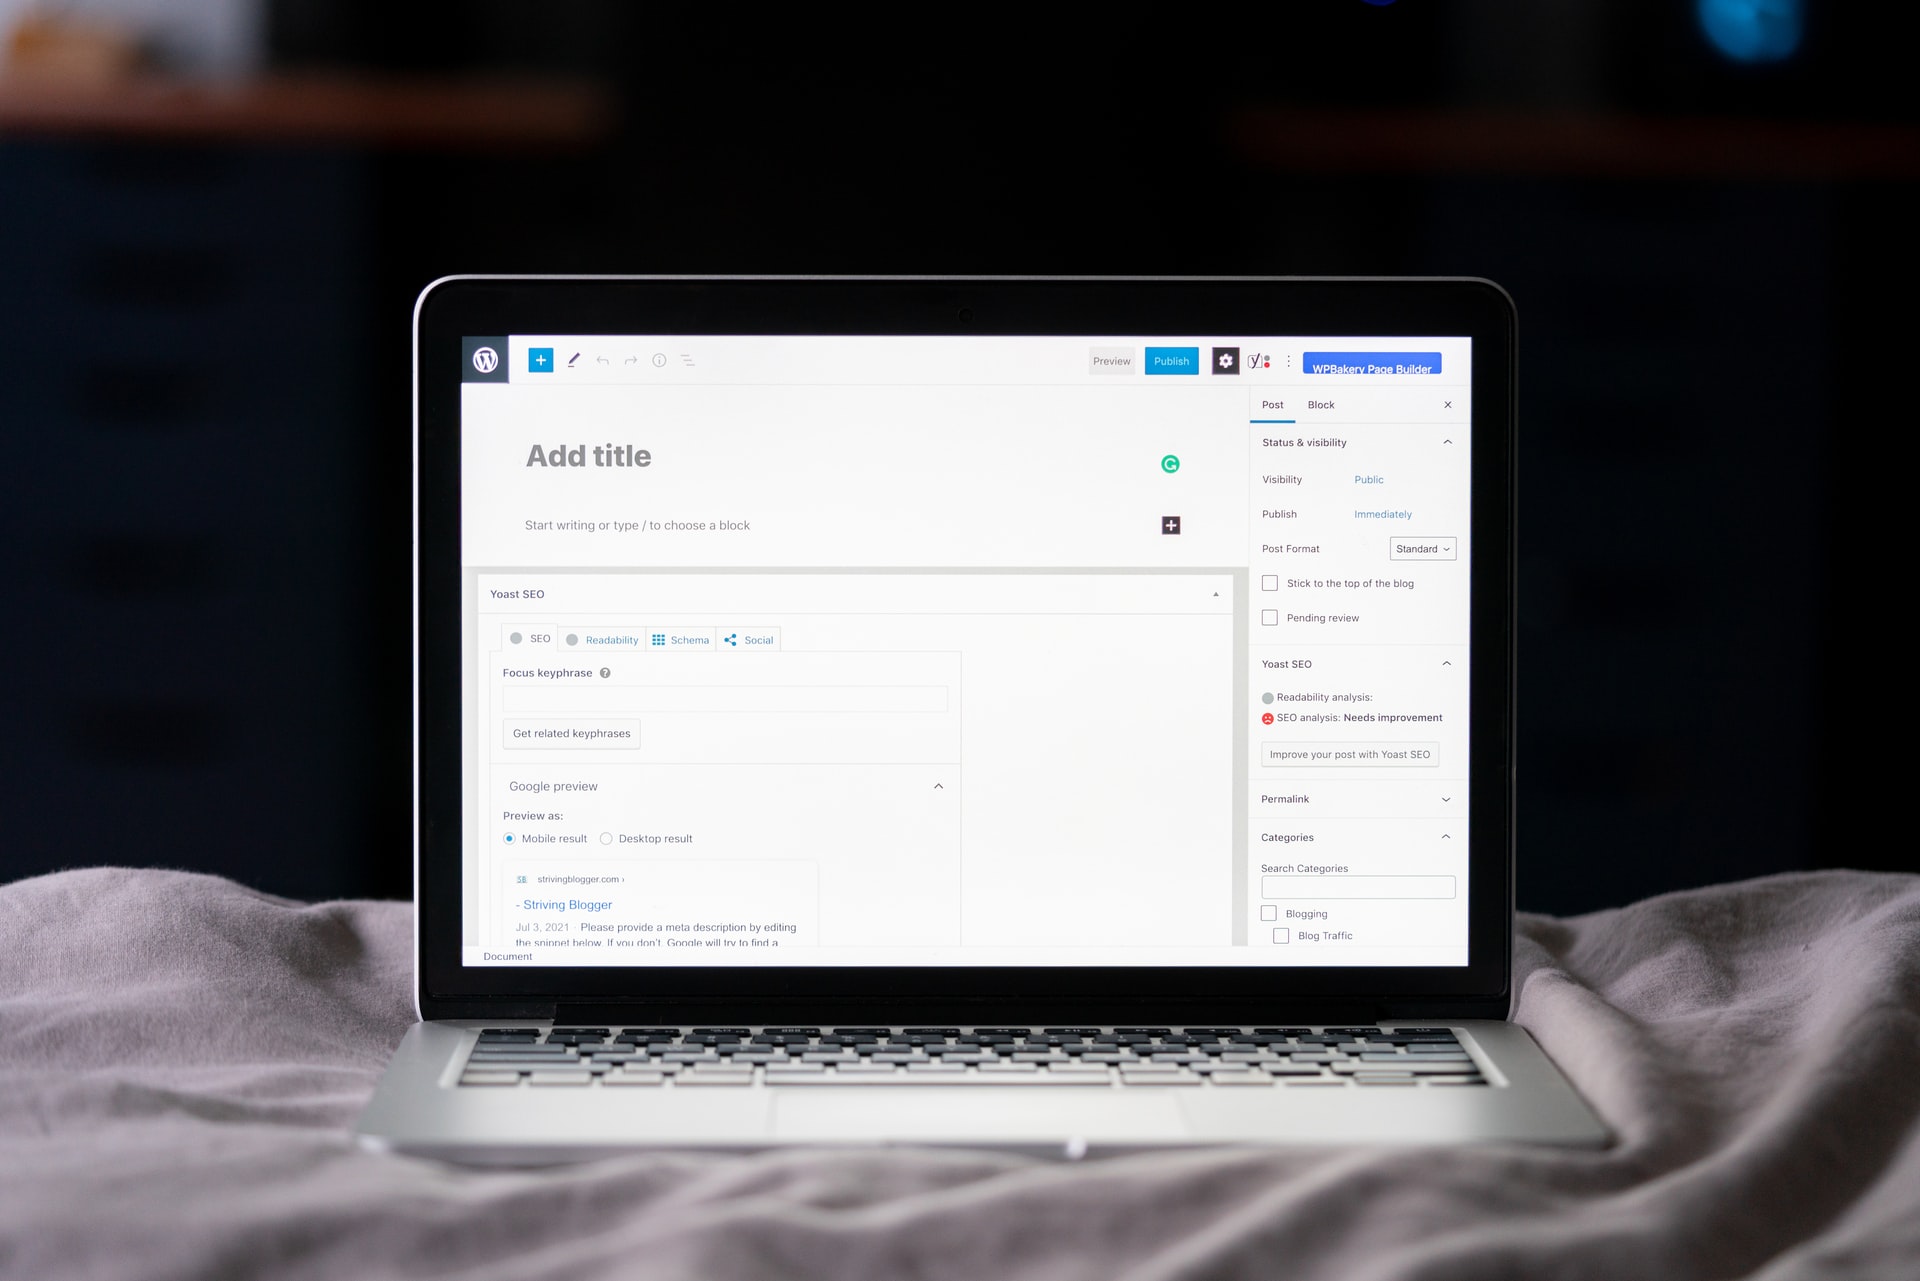
How to Add a WordPress Author Box Without Plugin?
If you know any basic PHP protocols, it’s relatively easy to add a WordPress author box without a plugin. All you have to do is muck around with the code a little, and you’ll be able to set one up in no time. But, even if you have zero knowledge whatsoever, don’t worry; we’ll guide you through the process step-by-step and explain everything in detail.
Step 1 – Find the File
There are a few ways you can do this. The first option is to do it straight from the WP dashboard, the second is to use an FTP client, and the third is to use the cPanel file manager. While the second and the third option are viable, the first one is the easiest and most beginner-friendly, so that’s the one we’ll focus on today.
Pro Tip: Before we go any further and explain how to do this, it’s important to note that messing with code is a dangerous endeavor. This is why you’ll need double insurance to ensure nothing goes wrong and that if something does go wrong, it’s fixable.
Firstly, it’s always advisable to put the site in maintenance mode while doing this. And you can do so by adding a “coming soon” or “under maintenance” page. You can do this by utilizing a plugin like Coming Soon & Maintenance Mode or something similar.

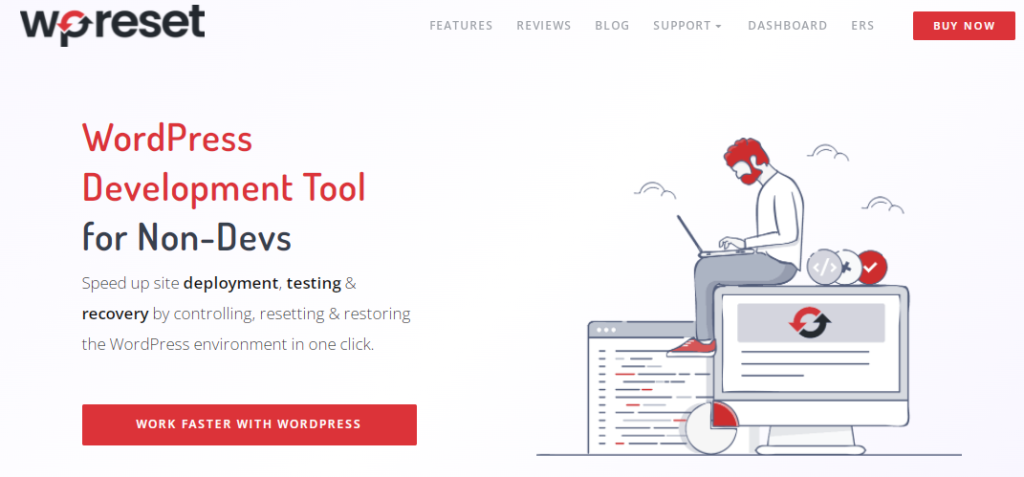
Secondly, should you do something wrong, the consequences can be dire. The white screen of death that messes up an entire website is a real possibility. So, do get insurance. A tool like WP Reset is the ideal solution as it allows you “screenshot” your entire installation and returns it to its previous working state if you make a mistake.
Step 2 – Add Author Information to WordPress
Do this by clicking on the “Users” tab on your WP dashboard.
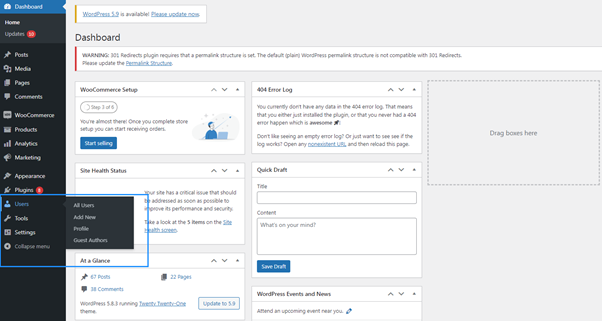
After you do that, simply hover your mouse over the user’s name and click on “Edit.” You’ll soon see the editor and be able to customize info on any of the authors. Once everything’s done, click on “Update User,” and that’s it.
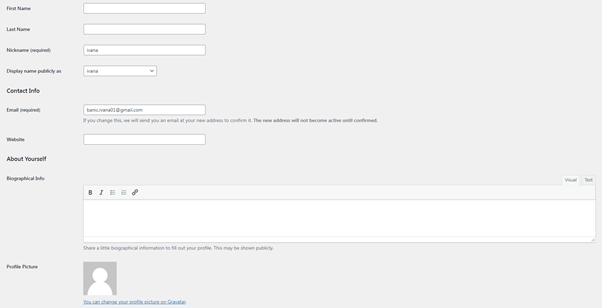
Note: If you haven’t already created profiles for your writers, start by clicking “Add New” and filling out the information for each one.
Step 3 – Insert Code
Next up, you’ll navigate to “Appearance” and select the “Theme Editor” button.
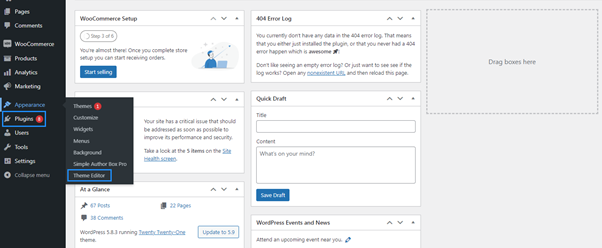
After that’s done, locate the single.php found on the right-hand side (it’s labeled Theme Files). Insert the following line of code right below the “the_content()” function and directly above the main div container for your content. Once you’ve done this, click on the “Update File” button.
Pro Tips: Before you do any of this, make sure to create a copy of it using an FPT client. This precautionary measure can assist you in reverting if something goes wrong. If you’re not a techie, you can rely on WP Reset for insurance in this case.
The code ( only use in sigle.php file, not in function.php):
<div class=”about-author”>
<div class=”about-author-image”>
<?php echo get_avatar(get_the_author_meta(‘ID’), 250); ?>
</div>
<div class=”about-author-text”>
<h3>About <?php echo get_the_author_meta( ‘display_name’); ?></h3>
<?php echo wpautop(get_the_author_meta(‘description’)); ?>
<a href=”<?php echo get_author_posts_url(get_the_author_meta(‘ID’)); ?>”>View all posts by <?php the_author(); ?></a>
</div>
</div>
These two div containers are the author’s image and the short bio you provided earlier. You can also get the author’s avatar by using the get_avatar() function. If you also want to include the author’s description, it’s possible to do so with the get_the_author_meta() function. And, congratulations, you can now style the author box as you please.
This is the one we made using the following CSS code;
.about-author {
background-color: #f8f9fa;
padding: 20px; }
.about-author::after {
content: “”;
clear: both;
display: table; }
.about-author-image {
float: left;
width: 20%; }
.about-author-text {
float: right;
width: 75%; }
Creating a WordPress Author Box With a Plugin
As we mentioned earlier, creating a WordPress author box without plugin can be tricky business, and unless you know your way around code, the customization options are somewhat limited. Not to mention that the whole thing can be dangerous for your site if you’re not a pro.
Making even the slightest mistake could break your entire theme, or worse, the whole site. If this occurs, the site will be forced into maintenance mode until it is repaired, which means you will lose valuable traffic, and users will not find what they are looking for.
There is an easier way to create an author box for your WP site, and that’s by using a plugin. With a plugin like Simple Author Box, you can do the whole process within five minutes, the customization options are aplenty, and you don’t even have to touch code.
Simple Author Box
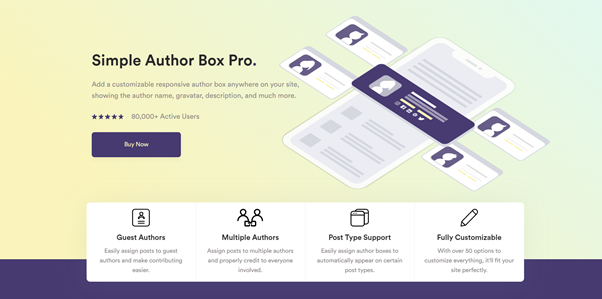
As the name would suggest, this plugin is straightforward to use and makes creating a responsive author box that much easier. With its help, you’ll be done in no time at all, and given all its features and customization options, the aesthetics will be top-notch as well.
Main Features
- Co-authors – Sometimes, a bigger project requires multiple authors, and this plugin allows you to credit however many you want.
- Guest Authors – Credit every guest author properly without creating them a separate account.
- Link Control – Gives you the ability to control the links inside the box, how they behave, whether they are no_follow, etc.
- Color schemas – An easier way to ensure the colors matches are pitch-perfect and that you’ll get a professional author box no matter how many times you tweak it.
- Appearance and Typography control – Control everything about the box’s appearance, from alignment all the way to font size and color.
- Responsive boxes – No matter what you do, the author box fits every screen size and will never ruin the overall appearance of the site.
Installation and Setup
This process is much the same as for any other WP plugin; either download it straight from your WordPress dashboard or unzip a stand-alone file. To find the plugin on the WordPress dashboard, navigate to “Plugins,” click on “Add New,” and type Simple Author Box into the search bar.
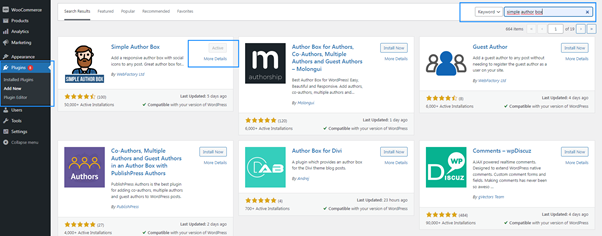
Just click on “Install” after you’ve found it, wait a few moments until the setup is complete, and you’re ready to go.
Customizing an Author Box
To begin, navigate to “Appearance” and select Simple Author Box Pro from the dropdown menu.
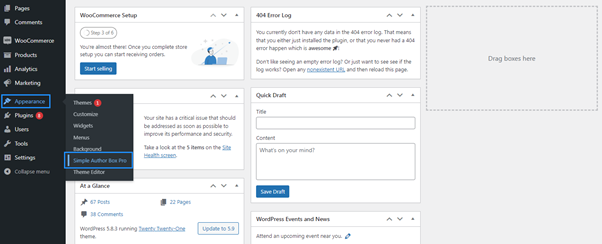
After you click on it, you’ll immediately get to the author box editor, and the options are plenty.
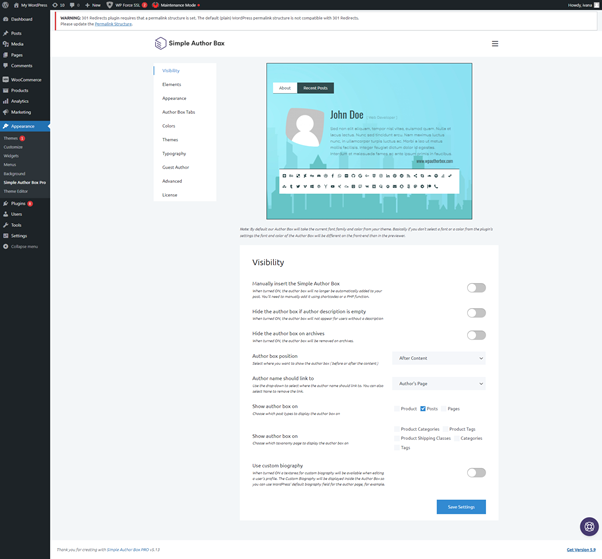
It isn’t much else we can do for you here because the whole thing is exceptionally intuitive, and chances are you won’t need to copy our exact design. There are nine different customization categories in total, and each one offers a plethora of useful options in terms of both function and aesthetics. So, let your creativity run a little wild and create something perfect for you.
Here are some examples of what you can do with this plugin in a manner of minutes:
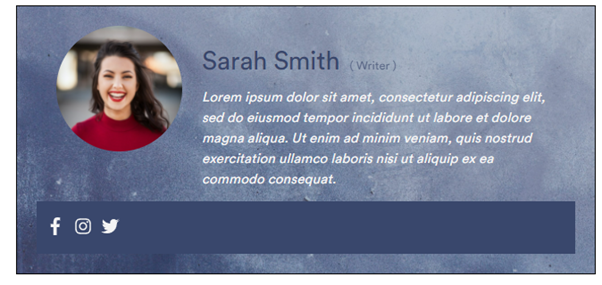
A clean and straightforward author box for minimalists
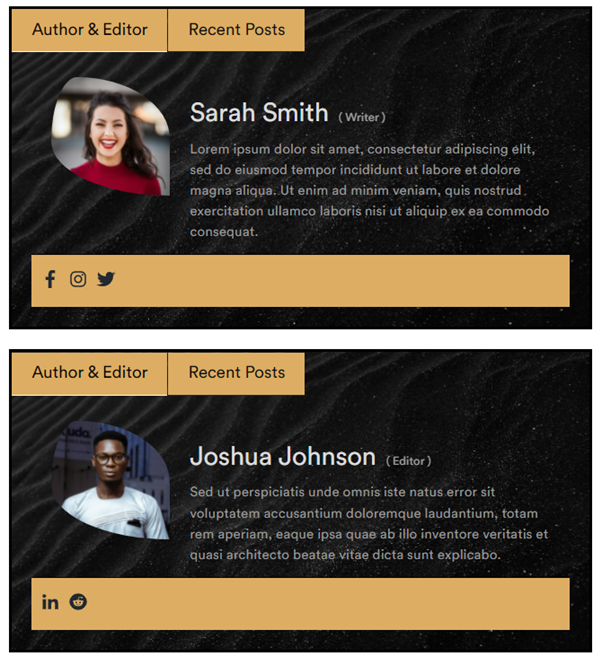
A multiple authors version with a “Recent Posts” section.
To Plugin or Not to Plugin?
Using our tutorial, you can create a custom author box as we already established. But the question isn’t really can you; it’s should you? If you’re a pro web developer, by all means, go for it; code to your heart’s desire.
But, if you don’t have any dev experience, then working directly with code is far from ideal. So many things can go wrong, and your website can suffer for it.
There’s no real reason why you should do this when plugins such as Simple Author Box do a much better job and allow for more customization, void of all the dangers. We’d recommend you plugin up and move confidently ahead.