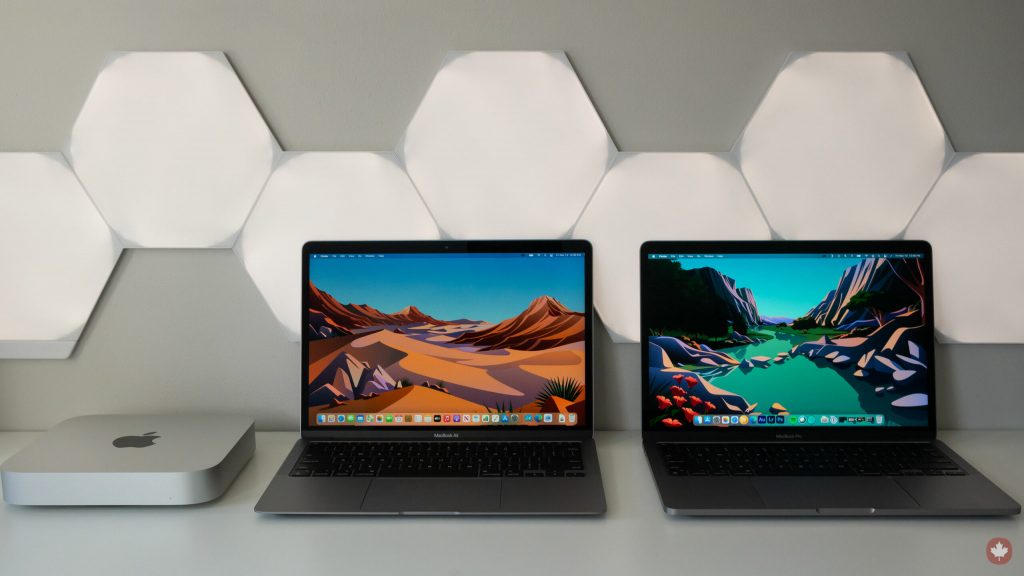
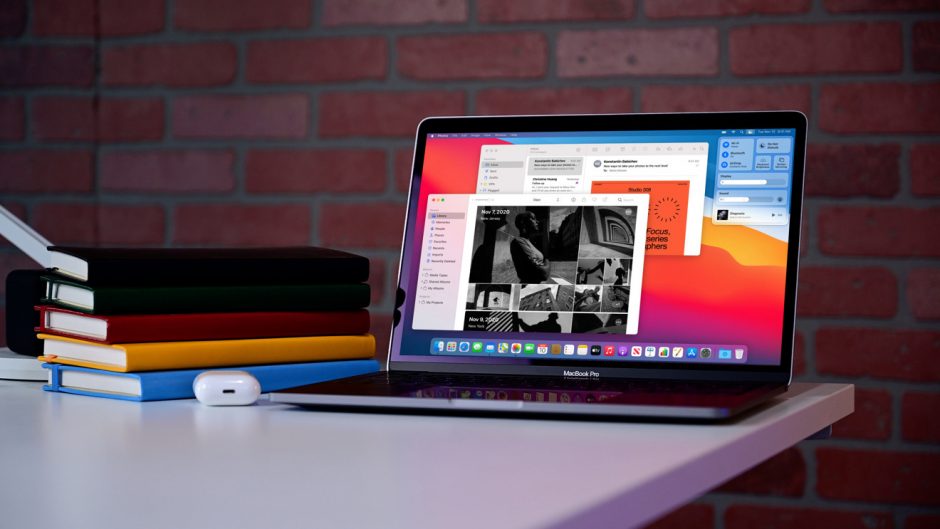
Apple’s new M1 Mac is probably the best laptop in the market.
The new Macs are not only faster but efficient as well. However, that’s not the only good thing about it.
Now, you will be able to use all your iOS apps in the M1-based Mac. All you need to do is get access to the right file.
If you own an iPad or iPhone along with the new Mac, you can use the apps you have purchased in your phone in the laptop as well.
All the apps that you own in your phone will run in the new M1 Mac. The apps are not officially available in the Mac App Store, but you can still use it.
Running iOS Apps in Mac:
You can use popular apps like Netflix, Gmail, Spotify and various other apps in your Mac. While some apps run smoothly, there are problems with the other apps.
It is one of the reasons why the developers have not yet developed the apps for the Mac App Store. Here are some examples of the apps which are facing problems.
- Netflix: If you own the Netflix app in your phone’s App Store, you can run it in your Mac. However, there will be some complications. The app will be bounded inside a window. You will not be able to opt for a full screen or resize the app. Apart from this, you will be able to smoothly run the app. You can even download the videos and watch it in offline mode.
- Instagram: You can also use Instagram in your Mac. However, it will look pretty small on the screen. Apart from this, it runs just fine. You can post directly from your Mac. It will take you to the right photo library. The app will also ask for camera permission.

How to Use the Apps?
To use the apps in your Mac, you need the file. These files need to be from your Apple ID. It prevents sharing. You cannot share the file with others. Only the user can use the file.
You need to use an app called iMazing. This app is available in the Mac App Store. You can use this app to run the file in your Mac. The only thing you need to do is make sure the Apple ID is the same in the Mac as well as the phone.
- Step 1: Connect Phone with Mac
The first step is to connect your phone with your Mac. You need to plug-in the device. You also need to keep the iMazing app running in the background.
- Step 2: Choose Apps
After you plugin-in, you need to choose “Apps” in the iPhone that you have connected with the Mac.
- Step 3: Manage Apps
After that, you need to click on “Manage Apps”. This option is available in the tabs given at the bottom.
- Step 4: Library
Now, you need to choose the “Library” option given on the screen.
- Step 5: Download
Once you reach the app library, you need to download the app you want in the Mac.
- Step 6: Export
After you download the app on the phone, you need to export the file to your Mac. You have to the right click on the app and choose “Export ipa”.
- Step 7: Install
Now, you just need to install the app in your Mac. To do this, you have to double click on the file and install it in the Mac.
These are the simple steps you need to follow in order to use your iPhone apps in your new M1 Mac. There will be some bugs, but you will be able to use the app smoothly.
