
Let’s say you got back from your latest family vacation and can’t wait to show off the pictures to your friends. The problem is when you head to your computer to get the images, you notice some of the pictures are too dark, some with the target off-center… no one’s going to be impressed with these.
What can you do to fix them without taking all-new photos? For the best photos, check this list – photographer Jeddah.
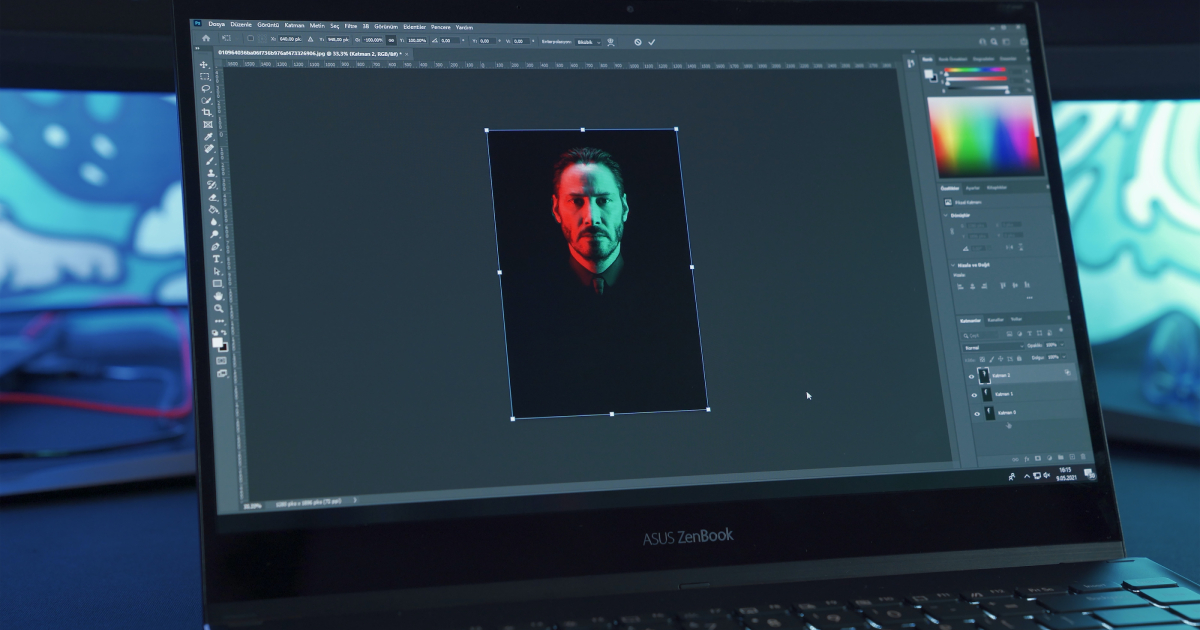
Well, we’re glad you asked. It’s time to delve into our guide on the top 5 photo editing tips you need to create amazing pictures!
But enough talk! Boot up your favorite editing software and let’s dive in, and discover 5 powerful photo editing tips that will transform your snapshots into stunning, photogenic masterpieces. With the right adjustments, even ordinary photos can look extraordinary.
Adjust White Balance
One of the first photo editing tips you’ll often hear is using your editing software to adjust the white balance (altering the overall color of the image rather than specific elements). This lets you take photos that seem too gray and murky and re-inject a little life into them, saving them from mediocrity.
White balance also helps you adjust the color of photos around the lighting you had at the time, as not all lights accentuate color the same. Most photo editing software has automatic white balance correction, as well as temperature sliders to make the colors in the image warmer.
Crop and Clean Up
Did you take a cool photo of a landscape, only for the shot to seem crooked and have too much dead space? In times like these, cropping and cleaning are your best friends.
These tools allow you to re-orient and cut things out of the image, crucial for adhering photos to the rule of thirds (dividing the photo into a 3×3 grid knowing that the human eye is most attracted to a little right of center).
This also allows you to better suit photos for viewing on other devices. For example, phones will favor vertical images cropped to their screen size as otherwise crucial details will be too small or cut out altogether.
Look at the Histogram
When dealing with modifying exposure in your photos, the histogram is an essential tool. This graph shows which tones are the most prevalent in a picture. Heavy peaks on the left side mean you have more shadowy tones, while heavy peaks on the right indicate a prevalence of brighter tones.
You can then use this data to aid you when editing exposure. This is because it removes the guesswork of editing by visuals alone.
Play With Filters
Want your family photo to look like it came from the Old West? Out of a classic noir movie? Filters are a great way to achieve this effect, altering the look and feel of a picture with the push of a button.
While these filters work best in tandem with the other techniques, they are an easy way to add some extra personality to your images.
Backgrounds and Overlays

For those who feel adventurous, some photo editing software will feature a background remover tool, allowing you to wipe the background of a picture so you can insert something else. You can also overlay additional images over your photos, allowing you to make collages or fun edits.
For Those Who Want More Photo Editing Tips
Now that you’ve added these photo editing tips to your arsenal, it’s time to get out there and craft the best pictures around!
But what if you’re still looking for more tips? If that’s the case, feel free to check out the other awesome articles on our website to grab those tips for yourself!