Instagram has become one of the most popular social media platforms worldwide, with over a billion active users sharing their lives, experiences, and creativity through photos, videos, and stories. It’s a place where users can connect with friends, family, and even strangers who share similar interests. The platform’s visual nature makes it the perfect medium for sharing moments through photos, and with features like multiple-image posts, you can now tell a more complete story in a single upload. Whether it’s a vacation recap, a special event, or a photo series, Instagram allows you to post up to 10 images or videos in a single post. However, there are creative ways to share up to 20 photos across two carousel posts within one post, giving you more flexibility. In this article, we’ll walk you through how to do just that.
Step-by-Step Guide: How to Post 20 Photos in One Post on Instagram
Though Instagram has a limit of 10 images per carousel post, you can work around this by posting two sets of 10 images simultaneously to create the effect of sharing 20 images in a single upload. Below is a detailed guide on how to do this:
Step 1: Prepare Your Photos
Before you start posting, make sure you have the 20 images you want to share on your device. You may wish to edit them to ensure they fit a consistent theme or style. Instagram allows images in various aspect ratios like square (1:1), portrait (4:5), or landscape (1.91:1), so be mindful of how the photos will appear in the feed.
Step 2: Create Two Sets of 10 Photos
Since Instagram limits carousel posts to 10 images per post, you’ll need to create two separate carousel posts with 10 images each. You can think of them as “Part 1” and “Part 2” of your 20-photo collection. Make sure the photos are ordered in a way that makes sense, as users will swipe through them one by one.
Step 3: Start Posting the First Set of 10 Photos
- Open the Instagram app on your phone.
- Tap the “+” icon at the bottom center of the screen to start a new post.
- Choose “Post” from the available options.
- Tap on the “Select Multiple” option (icon with two overlapping squares) to enable multiple selection.
- Tap each of the first 10 photos you want to upload in the order you’d like them to appear. You can rearrange the order before posting if needed.
- Tap “Next” to proceed to the editing screen, where you can add filters or make individual adjustments to each photo.
- Once done, tap “Next” again.
Step 4: Write a Caption for the First Post
Add a caption that explains your photos or tells a story. You can mention that this is “Part 1” of a two-part post to inform your followers that there’s more to come.
Step 5: Share the First Post
Tap “Share” to upload the first set of 10 photos.
Step 6: Immediately Post the Second Set of 10 Photos
- Tap the “+” icon again and choose “Post.”
- Repeat the same steps for selecting multiple photos, but this time choose the second set of 10 images.
- Go through the editing and captioning process as before, making sure to refer to this post as “Part 2.”
- Tap “Share” to upload the second set.
Step 7: Add a Consistent Caption Style
To create a cohesive experience for your followers, you can use similar hashtags, location tags, and themes for both posts. Some users even add lines like “Swipe left for more” to guide followers to view all photos in both carousels.
Alternative Method: Use a Layout App to Combine Photos
If you don’t want to split your photos across two posts, you can use a collage or layout app to combine multiple images into fewer frames. Some popular apps for this include:
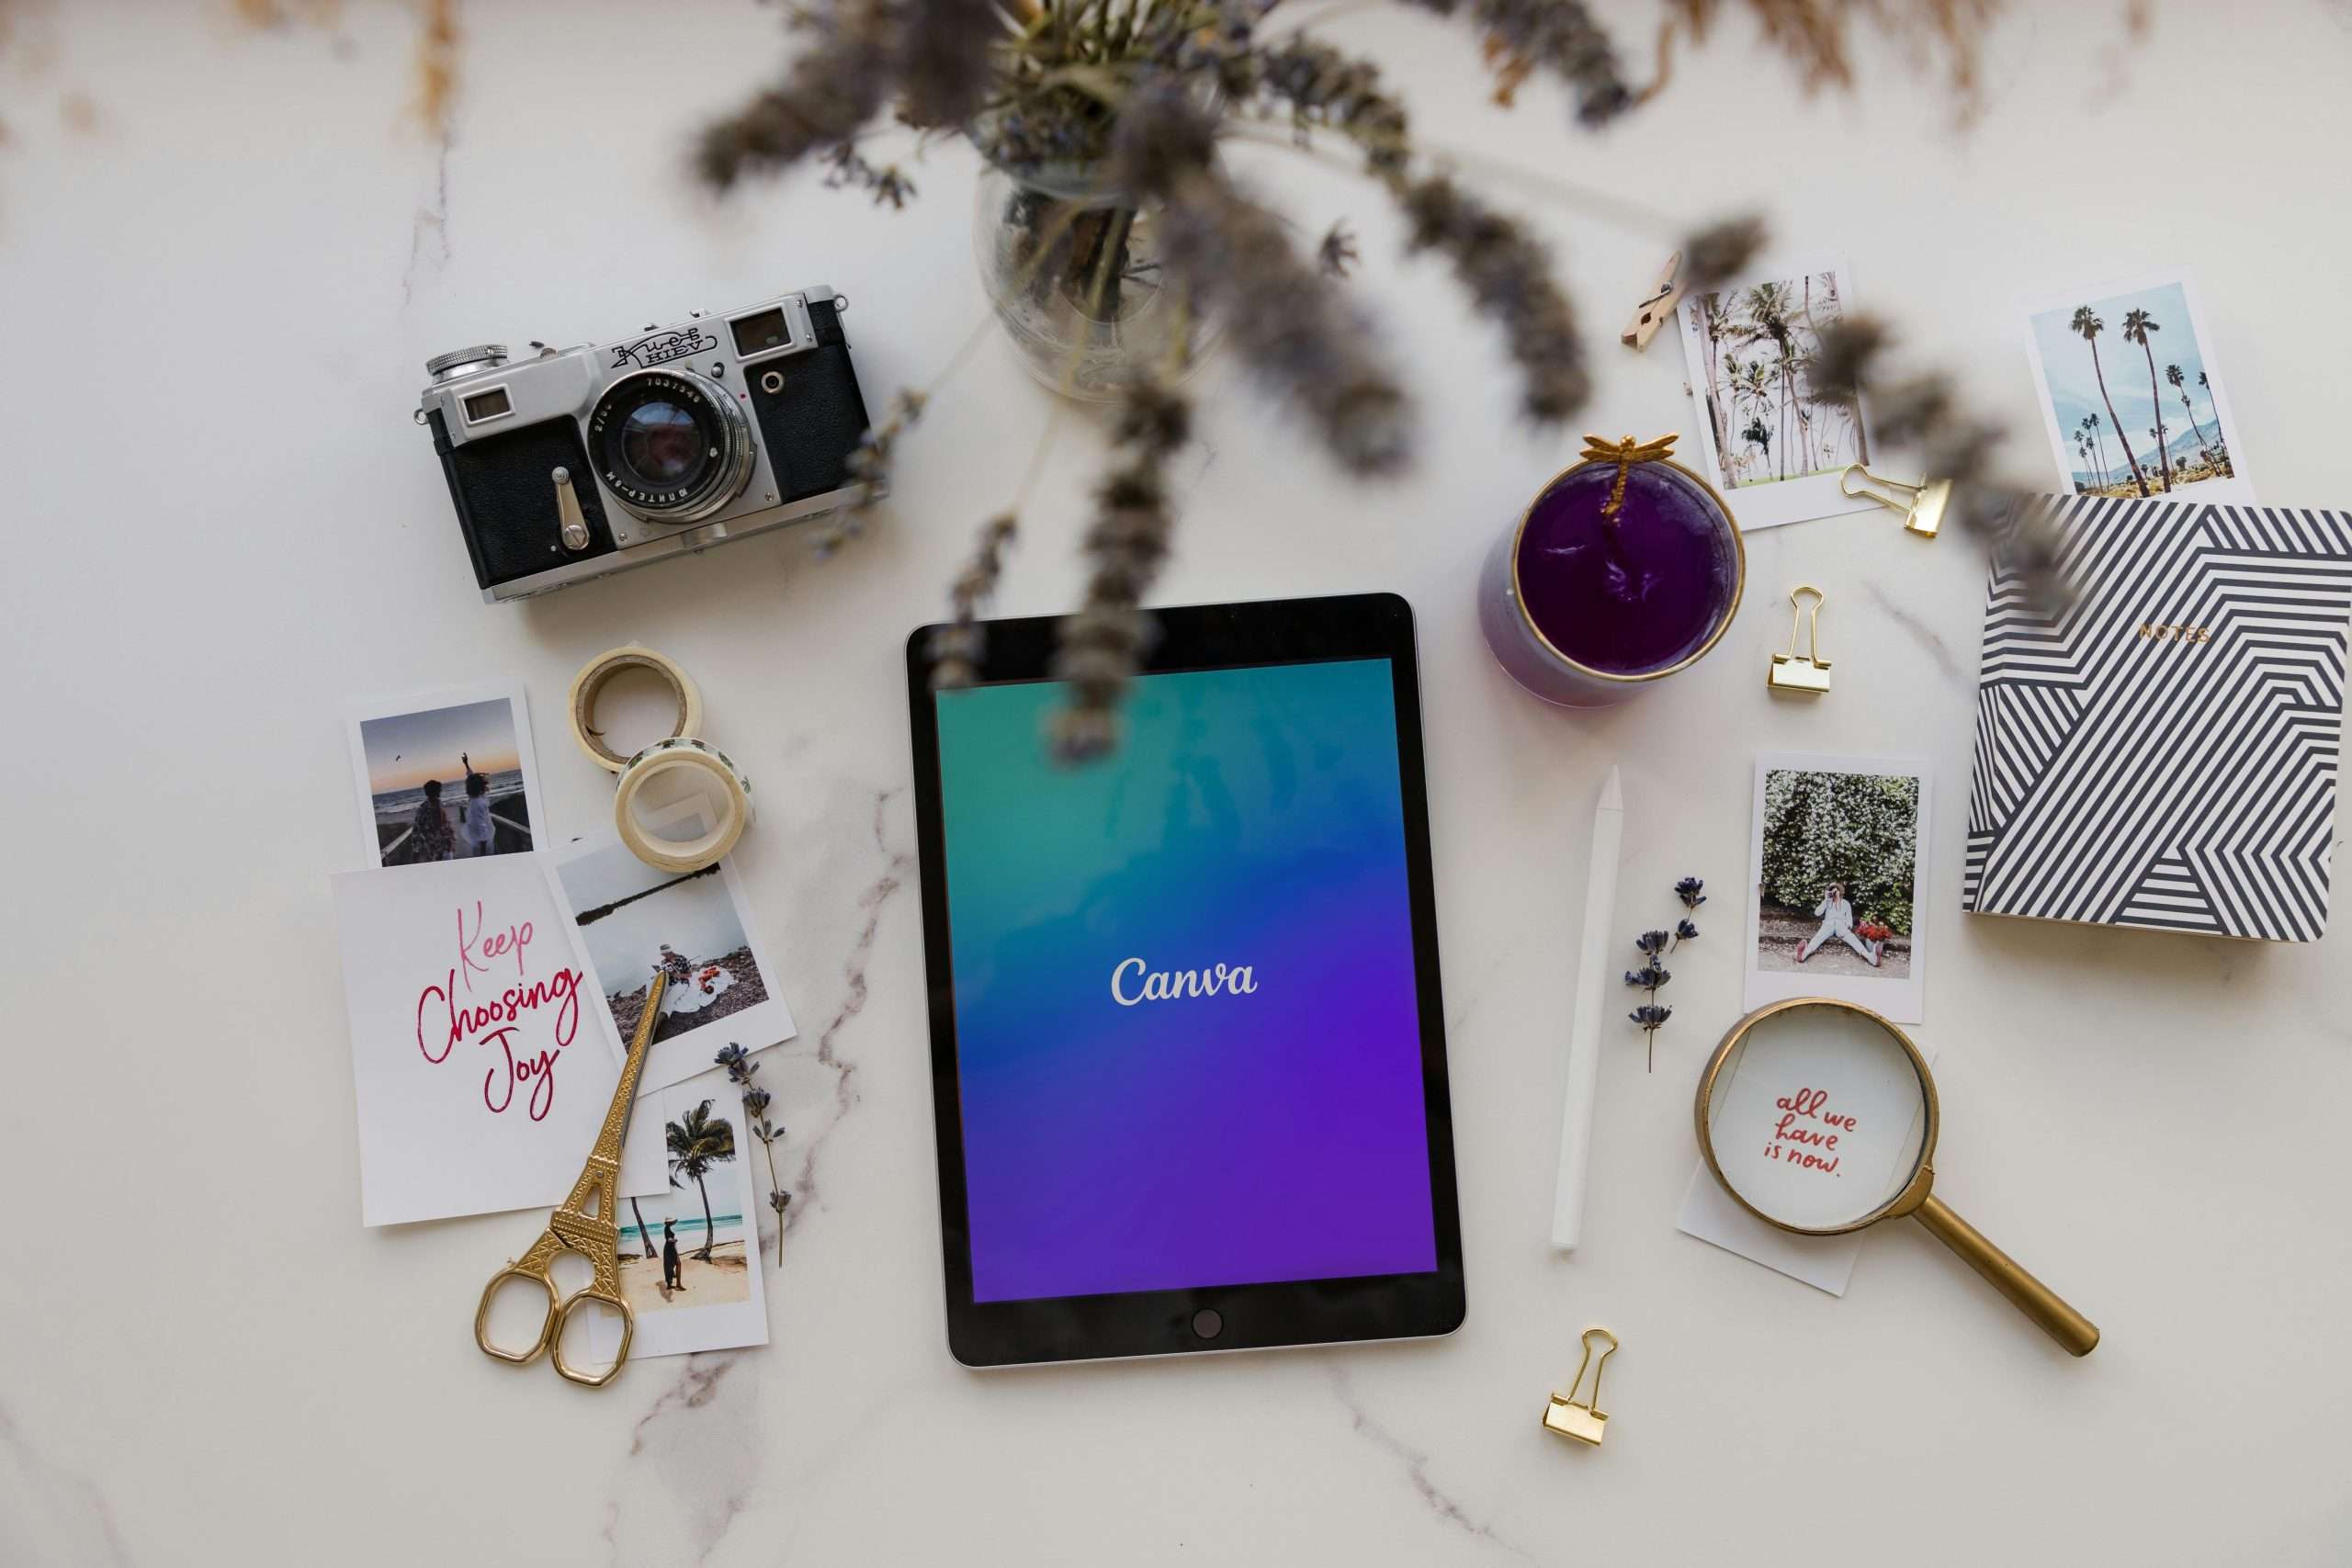
- Canva
- Layout from Instagram
- PicsArt
These apps allow you to merge up to four or more images into a single frame, which could reduce the total number of individual uploads. However, keep in mind that this approach may compromise the image quality or detail in each photo.
Step 8: Promote Both Posts in Your Stories
To ensure maximum visibility, you can share both posts to your Instagram Stories. This lets your followers know that there are two parts to view, increasing the likelihood that they’ll swipe through both carousels.
- Go to each post, tap the paper airplane icon below the image, and choose “Add post to your story.”
- You can add text, stickers, or arrows pointing to the posts in your story to attract attention.
Tips for Engaging Your Audience with Multiple Photo Posts
- Tell a Story: Use the sequence of the photos to create a narrative.
- Use Captions Wisely: Add context to each image to enhance the viewing experience.
- Add Geotags or Hashtags: These can help your post reach a wider audience.
- Tag Relevant Accounts: If you’re featuring other people or brands, tag them in the post.
Conclusion
While Instagram limits individual carousel posts to 10 images, you can still share 20 photos at once by creatively utilizing two separate carousel posts. By preparing two sets of 10 images, following the steps outlined above, and promoting both parts cohesively, you can present a more comprehensive and engaging visual story to your followers. Whether it’s a travel adventure, a special event, or an art series, sharing multiple images is a great way to captivate your audience and maximize your content’s impact.
Now, go ahead and try it out—you’ll see how seamlessly you can share up to 20 photos with your Instagram followers in one go!