
In portrait retouching and digital painting, the Blur Brush Tool is often underestimated because it appears simple: it softens pixels. Used carelessly, it can make skin look plastic, erase important texture, and weaken the structure of a painting. Used with control, however, it becomes a precise instrument for guiding attention, correcting distractions, blending tones, and creating atmospheric depth.
TLDR: The Blur Brush Tool is most effective when used selectively, at low strength, and in combination with good masking and layering habits. In portrait retouching, it can reduce harsh transitions without destroying skin texture. In digital painting, it helps unify edges, create depth, and soften light. The key is to blur with intention, not as a substitute for careful editing or drawing.
What the Blur Brush Tool Actually Does
The Blur Brush Tool reduces contrast between neighboring pixels. In practical terms, it softens edges, smooths transitions, and lowers the visibility of small details. This can be useful in areas where texture or sharpness is too distracting, but it can also be damaging if applied globally.
A serious retouching workflow treats blur as a local adjustment, not a universal fix. Human faces contain many types of edges: sharp eyelashes, soft cheek transitions, textured pores, reflective lips, and subtle shadows around the nose. Each area requires a different level of clarity. The purpose of the Blur Brush Tool is not to remove reality, but to support visual hierarchy.
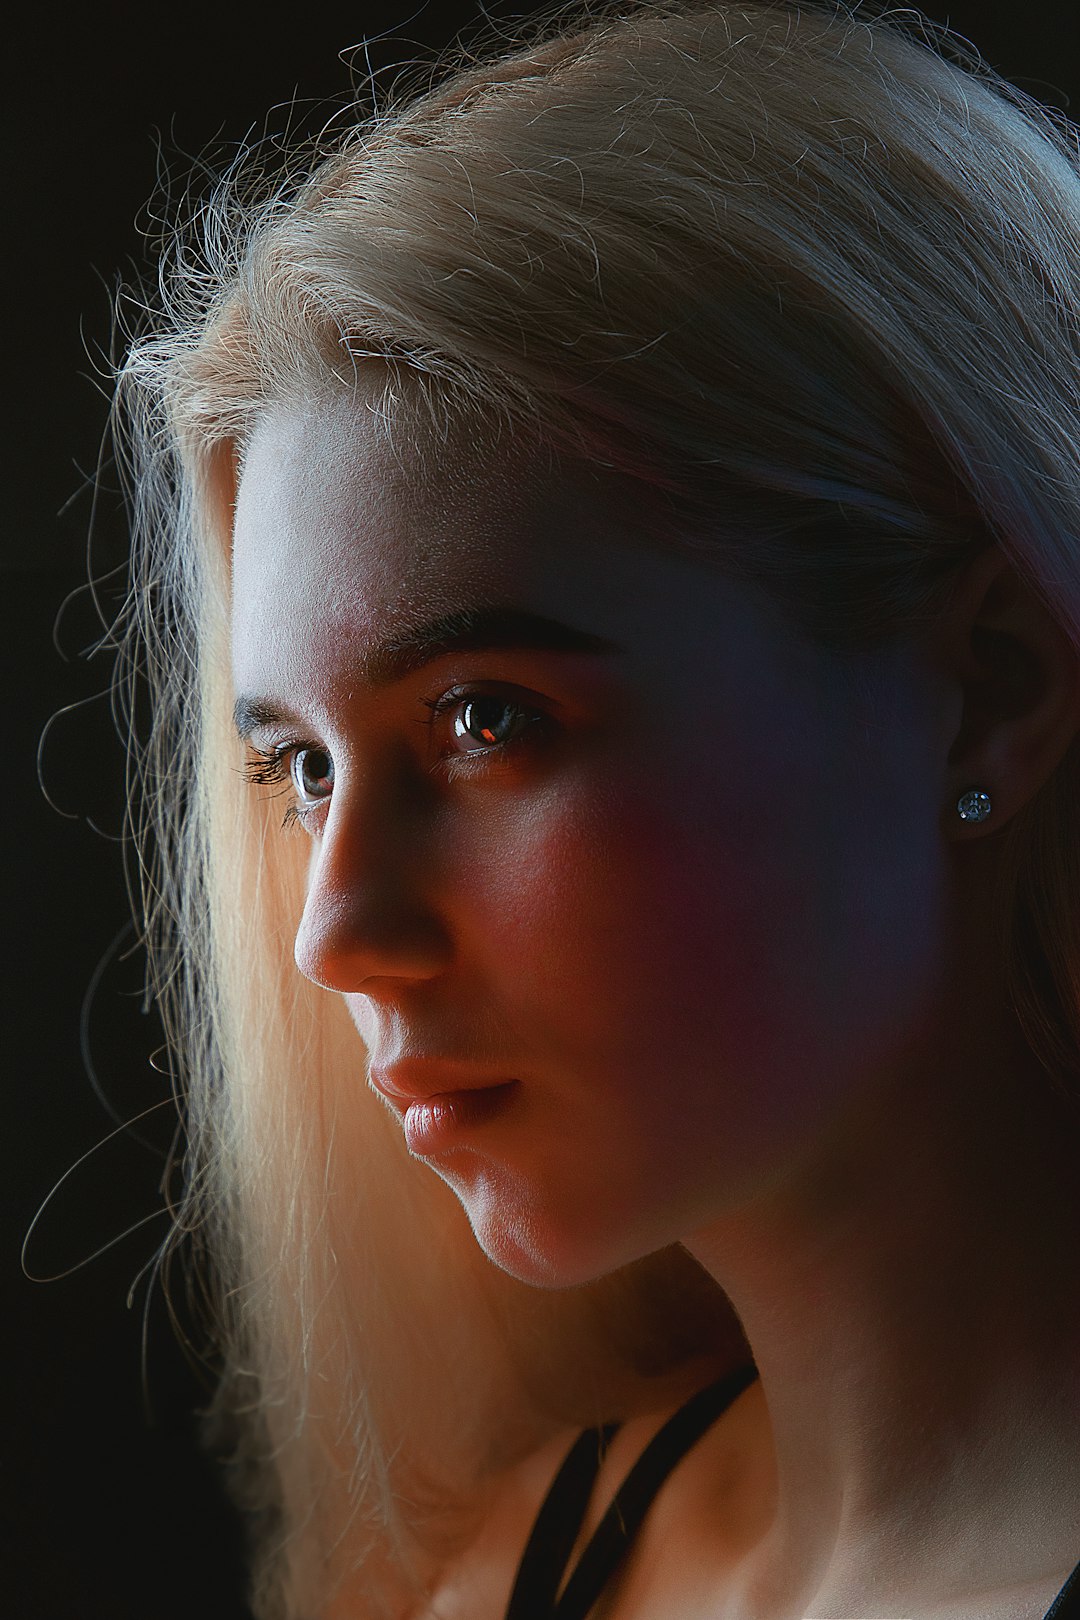
Creative Uses in Portrait Retouching
Portrait retouching demands restraint. Viewers are highly sensitive to unnatural skin, especially when pores, fine hairs, and expression lines disappear completely. The Blur Brush Tool can still be valuable when applied with a professional approach.
1. Softening Harsh Skin Transitions
Uneven light can create abrupt tonal breaks on the forehead, cheeks, or under the eyes. A low-strength blur brush can gently smooth these transitions while preserving the broader shape of the face. This is particularly helpful when the issue is not a blemish, but a rough change in tone caused by lighting or camera compression.
For better control, work on a duplicate layer or use a non-destructive workflow. Apply the blur gradually and zoom out frequently. If the edit only looks good at 300% zoom, it may not improve the portrait at normal viewing size.
2. Reducing Background Distractions
In portraits, the subject’s face should usually remain the visual priority. Small distractions in the background, such as visible texture, bright edges, or high-contrast objects, can pull attention away from the eyes. The Blur Brush Tool can soften those background elements without requiring a full lens blur effect.
This approach is especially useful around hair and shoulders, where automated selections may look artificial. Carefully brushing blur into distracting areas can create a more natural separation between subject and environment.
3. Refining Under Eye Areas
The under eye region is delicate. Heavy retouching can remove personality and make the face look flat. Instead of blurring the entire area, use the tool sparingly on only the harshest transitions. Preserve natural creases and avoid brushing directly over eyelashes or the lower eyelid edge.
A good rule is to reduce distraction, not remove anatomy. Serious portrait retouching keeps the person recognizable and believable.
4. Softening Makeup Edges
Makeup, especially foundation, contour, blush, and eyeshadow, may photograph with edges that appear stronger than intended. A small, soft blur brush can blend these edges and make the application look more polished. This works best at low opacity or strength, with repeated light strokes rather than one heavy stroke.
Creative Uses in Digital Painting
In digital painting, the Blur Brush Tool is not only a correction tool. It can be part of the artist’s mark-making process. Painters use edge control to direct the viewer’s eye, suggest depth, and define material qualities. Blur is one of the fastest ways to manage edges when used carefully.

1. Creating Depth and Focus
Sharp edges attract attention. Soft edges recede. By blurring distant objects, background shapes, or secondary details, an artist can create a convincing sense of depth. This principle is similar to depth of field in photography, but in painting it should be used with compositional judgment.
For example, in a painted portrait, the eyes, nose bridge, and mouth may contain sharper details, while the hair mass, shoulders, and background may have softer transitions. This strategy helps the viewer understand where to look first.
2. Blending Color Transitions
Digital painting often involves building forms with patches of color. Sometimes transitions between patches become too visible or mechanical. The Blur Brush Tool can help merge neighboring colors, especially in soft lighting conditions such as cheeks, clouds, fabric folds, or atmospheric backgrounds.
However, relying too much on blur can produce muddy results. It is often better to first choose accurate colors and values, then use blur only to refine selected transitions. Strong paintings usually contain a balance of hard, soft, and lost edges.
3. Suggesting Motion
Blur can imply movement when applied directionally or selectively. In character art, softening the edges of hair, fabric, or background shapes can create a sense of action. In fantasy or concept art, a blurred brush stroke around glowing effects, smoke, or magical energy can make the scene feel more dynamic.
The effect should match the physical logic of the image. If everything is blurred equally, the viewer may read it as a mistake rather than motion. Keep important structural points sharp enough to anchor the composition.
4. Painting Atmospheric Effects
Fog, mist, dust, bloom, and reflected light often require soft transitions. The Blur Brush Tool can help merge these effects into the scene. For instance, distant buildings in a misty environment should not have the same edge sharpness as foreground objects. A controlled blur reinforces atmospheric perspective and makes the image feel more spatially convincing.
Best Practices for Professional Results
Whether you are retouching a portrait or painting from imagination, the following habits will help you use the Blur Brush Tool responsibly:
- Use low strength settings. Subtle repeated strokes are safer than aggressive blur.
- Protect important details. Avoid blurring eyes, eyelashes, nostrils, lip edges, jewelry, and intentional texture unless there is a clear reason.
- Work non-destructively. Duplicate layers, masks, or smart workflows allow you to reduce or remove the effect later.
- Vary brush size. Large brushes are useful for broad transitions; small brushes are better for local corrections.
- Zoom out often. Professional edits must work at real viewing size, not only at extreme magnification.
- Compare before and after. If the image loses character, structure, or realism, the blur is too strong.

Common Mistakes to Avoid
The most common mistake is using blur to hide problems that should be fixed differently. Blemishes may require healing or cloning. Incorrect facial shape may require dodging and burning. Poor brushwork in a painting may require repainting, not smearing. Blur is a finishing and transition tool, not a cure for every flaw.
Another mistake is removing too much texture. In portrait retouching, skin should still look like skin. Even polished commercial images retain pores, fine lines, and natural variation. In digital painting, some texture is necessary to keep surfaces alive. Over-blurring can make a painting look unfinished or overly synthetic.
When to Use Blur and When to Leave Sharpness
A strong image depends on contrast, and that includes contrast between sharp and soft areas. The Blur Brush Tool is most powerful when it supports a clear focal point. In portraits, that focal point is often the eyes. In digital painting, it may be a face, hand, weapon, light source, or symbolic object.
Ask a simple question before applying blur: Does this area need to attract attention? If the answer is no, softening may help. If the answer is yes, preserve or even enhance clarity. This decision-making process is what separates intentional editing from random smoothing.
Conclusion
The Blur Brush Tool is a serious creative tool when handled with discipline. In portrait retouching, it can soften harsh transitions, refine makeup, reduce background distractions, and support a natural appearance. In digital painting, it can control depth, blend color transitions, suggest motion, and build atmosphere.
The best results come from subtlety. Use blur to guide the viewer, protect important detail, and strengthen the image’s structure. When applied with restraint and purpose, the Blur Brush Tool does not simply soften pixels; it improves clarity, focus, and visual intention.