
Record locally when you need a private file, record to the cloud when you need fast sharing, and always confirm consent before anyone speaks on camera. Zoom can record meetings, presentations, webinars, and interviews, but the correct setup depends on your account type, host permissions, storage limits, and whether you need separate audio tracks or a simple shareable link.
TL;DR: To record in Zoom, start or join as the host, click Record, choose Record on this Computer or Record to the Cloud, then stop the recording and wait for Zoom to process the file. For example, a training manager running a 45-minute webinar can record to the cloud, share the link with 120 attendees, and see replay views from people who missed the live session. Local recording is best for editing and archiving; cloud recording is best for teams, clients, and fast distribution.
Before You Record: Check Permissions and Consent
Zoom recording is controlled by the host. If you are not the host, you need permission. Without it, the Record button may be missing or disabled. It drives me crazy that Zoom can hide recording controls under More on smaller screens, so check the toolbar before assuming recording is unavailable.
- Host: Can usually record by default.
- Co-host: May record if the host allows it.
- Participant: Needs explicit recording permission from the host.
- Mobile user: Usually needs cloud recording, depending on plan and settings.
Always tell participants that the session is being recorded. In many regions, consent rules apply. For interviews, legal calls, HR meetings, medical discussions, and client sessions, get clear approval before recording. A short line at the start is enough in many cases: “This session is being recorded for review and internal notes. Is everyone comfortable with that?”
How to Record a Zoom Meeting on Desktop
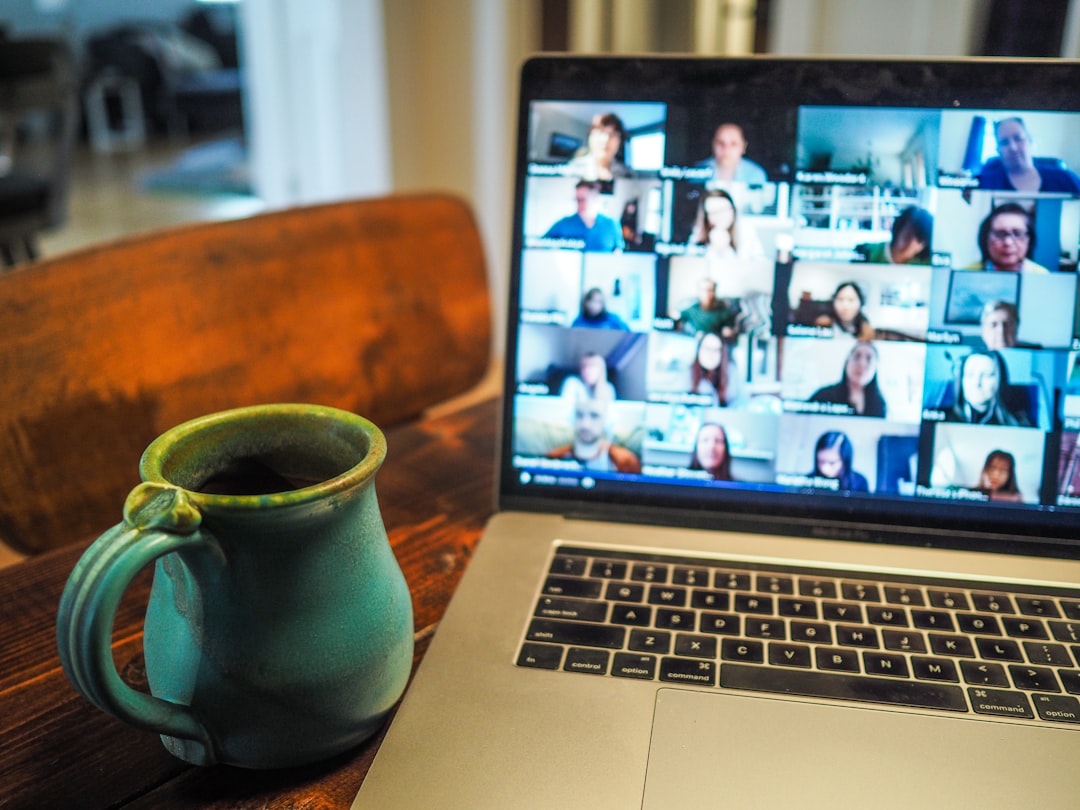
The desktop app gives the most control. Use it when recording meetings, sales calls, training sessions, classes, or client reviews.
- Open the Zoom desktop app.
- Start a meeting or join as the host.
- Click Record in the meeting toolbar.
- Choose Record on this Computer or Record to the Cloud.
- Run the meeting as usual.
- Click Stop Recording or end the meeting.
- Wait while Zoom processes the recording.
If you record locally, Zoom saves the file to your computer after the meeting ends. You will usually get an MP4 video file, an M4A audio file, and sometimes a playback file or chat text file. If you record to the cloud, Zoom processes the video online and sends an email when it is ready.
Local Recording vs Cloud Recording
Local recording stores files on your device. It works well for private meetings, podcasts, interviews, and edited presentations. You control the file, which is useful if the content is sensitive. The downside is storage. A one-hour video meeting can take hundreds of megabytes, and HD recordings can be much larger.
Cloud recording stores files in your Zoom account. It is easier to share. You can send a link instead of uploading a huge file. Cloud recording may also support transcripts, speaker views, gallery views, and analytics, depending on your plan. The downside is account storage limits. Expect to waste time clearing old files if no one manages the library.
- Use local recording for editing, confidential files, podcasts, and long-term archives.
- Use cloud recording for webinars, classes, client updates, and team access.
- Use both only when needed, because duplicate files create storage clutter fast.
How to Record a Zoom Presentation
For presentations, clarity matters more than seeing every face. Prepare your slides, close extra apps, and use a stable microphone. A poor microphone makes even a polished slide deck feel unprofessional.
- Start your Zoom meeting.
- Click Share Screen.
- Select your slide deck, browser tab, or desktop.
- Enable Share sound if your presentation includes video or audio.
- Click Record.
- Choose local or cloud recording.
- Present at a steady pace and pause briefly between sections.
For training content, cloud recording is often the cleanest option. You can share the replay link with attendees and avoid manually uploading the file. If you plan to edit the presentation later, record locally and use video editing software to trim dead air, mistakes, and setup time.
How to Record a Zoom Webinar
Webinars need more planning than standard meetings. Check your Zoom webinar settings before the event starts. Do not wait until people have joined. That is how small errors become public.
Recommended webinar recording settings include:
- Cloud recording: Best for fast replay sharing.
- Record active speaker with shared screen: Good for speaker-led sessions.
- Record gallery view: Useful for panel discussions.
- Save chat messages: Helpful for Q&A review.
- Audio transcript: Useful for accessibility and searchable notes.
Start recording before the formal introduction, then trim the beginning later if needed. Keep a backup host or co-host assigned. If the main host loses connection, that backup can help protect the session flow.
How to Record a Zoom Interview
Interviews need clean audio, stable framing, and clear permission. Whether you are recording a job interview, podcast, research call, or expert quote, run a short test first.
- Ask for consent on camera or in writing.
- Use headphones to reduce echo.
- Record separate audio tracks if you plan to edit.
- Choose a quiet room with soft surfaces.
- Keep a written backup of key questions.
To enable separate audio tracks, open Zoom settings before the call, go to Recording, and select Record a separate audio file of each participant. This is useful when one speaker coughs, talks over another person, or has background noise. You can fix one track without damaging the entire conversation.
Recording on iPhone, iPad, and Android
Mobile recording is more limited. In many cases, Zoom requires cloud recording on mobile, and that feature may need a paid account. To record from a phone or tablet:
- Open the Zoom mobile app.
- Start or join the meeting as host.
- Tap More.
- Tap Record to the Cloud.
- Tap Stop Recording when finished.
Use mobile recording only when needed. Phone calls are harder to control. Battery, notifications, signal quality, and background noise can all damage the final result. If the session matters, use a laptop and a wired or high-quality USB microphone.
Where Zoom Recordings Are Saved
Local recordings are usually saved in a Zoom folder on your computer. On Windows and Mac, check Documents > Zoom. Each meeting gets its own folder with the date and meeting name.
Cloud recordings appear in your Zoom web account. Sign in through a browser, open Recordings, then choose the session. From there, you can play, download, share, delete, or adjust access settings.
Before sharing a cloud recording, review the permissions. Set a password if the content is private. Disable downloads when viewers should only stream the video. Add an expiration date for client reviews, hiring discussions, or internal briefings.
Best Practices for Reliable Zoom Recordings
- Start with a test: Record 30 seconds and check sound, camera, and screen sharing.
- Use a proper microphone: Audio quality matters more than video sharpness.
- Mute unused participants: Background noise ruins recordings quickly.
- Check storage: Make sure your computer or cloud account has enough space.
- Name files clearly: Use dates, client names, or session titles.
- Protect sensitive content: Use passwords and limit access.
- Keep backups: Store critical recordings in a secure second location.
Common Problems and Quick Fixes
The Record button is missing. You are likely not the host, or recording is disabled in account settings. Ask the host to grant permission.
The cloud recording is not ready. Processing can take time, especially after long webinars. Wait for Zoom’s email before sharing the link.
The recording has no shared screen. Check your cloud recording layout settings before the next session. Choose an option that includes shared content.
The file is too large. Compress the video or upload it to secure cloud storage. For future sessions, reduce unnecessary HD video.
The audio sounds bad. Switch microphones, use headphones, and record separate tracks when possible. Bad audio is hard to repair later.
Final Checklist Before You Press Record
- Confirm host or co-host recording permission.
- Tell participants the session will be recorded.
- Choose local or cloud recording.
- Test microphone and screen sharing.
- Close private tabs and notifications.
- Check storage and account limits.
- Review sharing settings before sending the replay.
Zoom recording is simple once the settings are right. The serious work happens before the call starts: consent, layout, audio, storage, and access control. Get those right, and your meeting, presentation, webinar, or interview will be easier to review, share, archive, and reuse.