
In the digital age, video content has become one of the most powerful forms of communication. Whether it’s for YouTube, social media, corporate presentations, or personal vlogs, videos can capture attention like no other medium. But what often sets good videos apart from great ones is the use of music. Adding songs or background music can significantly enhance mood, convey emotions, and increase viewer engagement.
However, adding music to videos isn’t simply a matter of slapping on a catchy tune. To do it effectively and legally, you need to understand various technical and licensing aspects. In this article, we guide you through the process of adding songs or background music to your videos using professional and trustworthy methods.
Why Background Music Matters
Background music provides a crucial emotional layer to your video. It helps in building narrative pace, setting the tone, and emphasizing key moments. For example, a dramatic piano score can accentuate a heartfelt speech, while an upbeat tune might make a product promo more lively and engaging.
Here are a few key benefits:
- Increased Engagement: Music keeps viewers current and emotionally invested.
- Enhanced Professionalism: Quality audio production adds polish.
- Stronger Emotional Connection: Music can influence how a viewer feels about your message or story.
Step 1: Choose the Right Music
Before you begin editing, choose music that fits the tone and purpose of your video. Ask yourself questions like:
- What kind of emotion do I want to convey?
- Should the music be lyrical or instrumental?
- Will the music support or compete with spoken words?
Keep your target audience in mind. For instance, corporate audiences might prefer subtle instrumental tracks, while younger viewers might respond well to upbeat, modern tunes.

Step 2: Understand Music Licensing
Using copyrighted music without permission can lead to serious legal issues, including video takedowns and even lawsuits. It’s crucial to ensure that you have the right to use the music you choose.
Here are a few types of music licenses you should be aware of:
- Royalty-Free Music: You pay once (or not at all), and can use the music multiple times.
- Creative Commons: Free to use under certain conditions. Always read the specific license.
- Licensed Commercial Music: Requires explicit permission from the copyright holder.
Popular royalty-free music platforms include:
- Artlist.io
- PremiumBeat
- Epidemic Sound
- AudioJungle
- Free Music Archive
Tip: YouTube also offers a sizable collection of free audio tracks in its Audio Library.
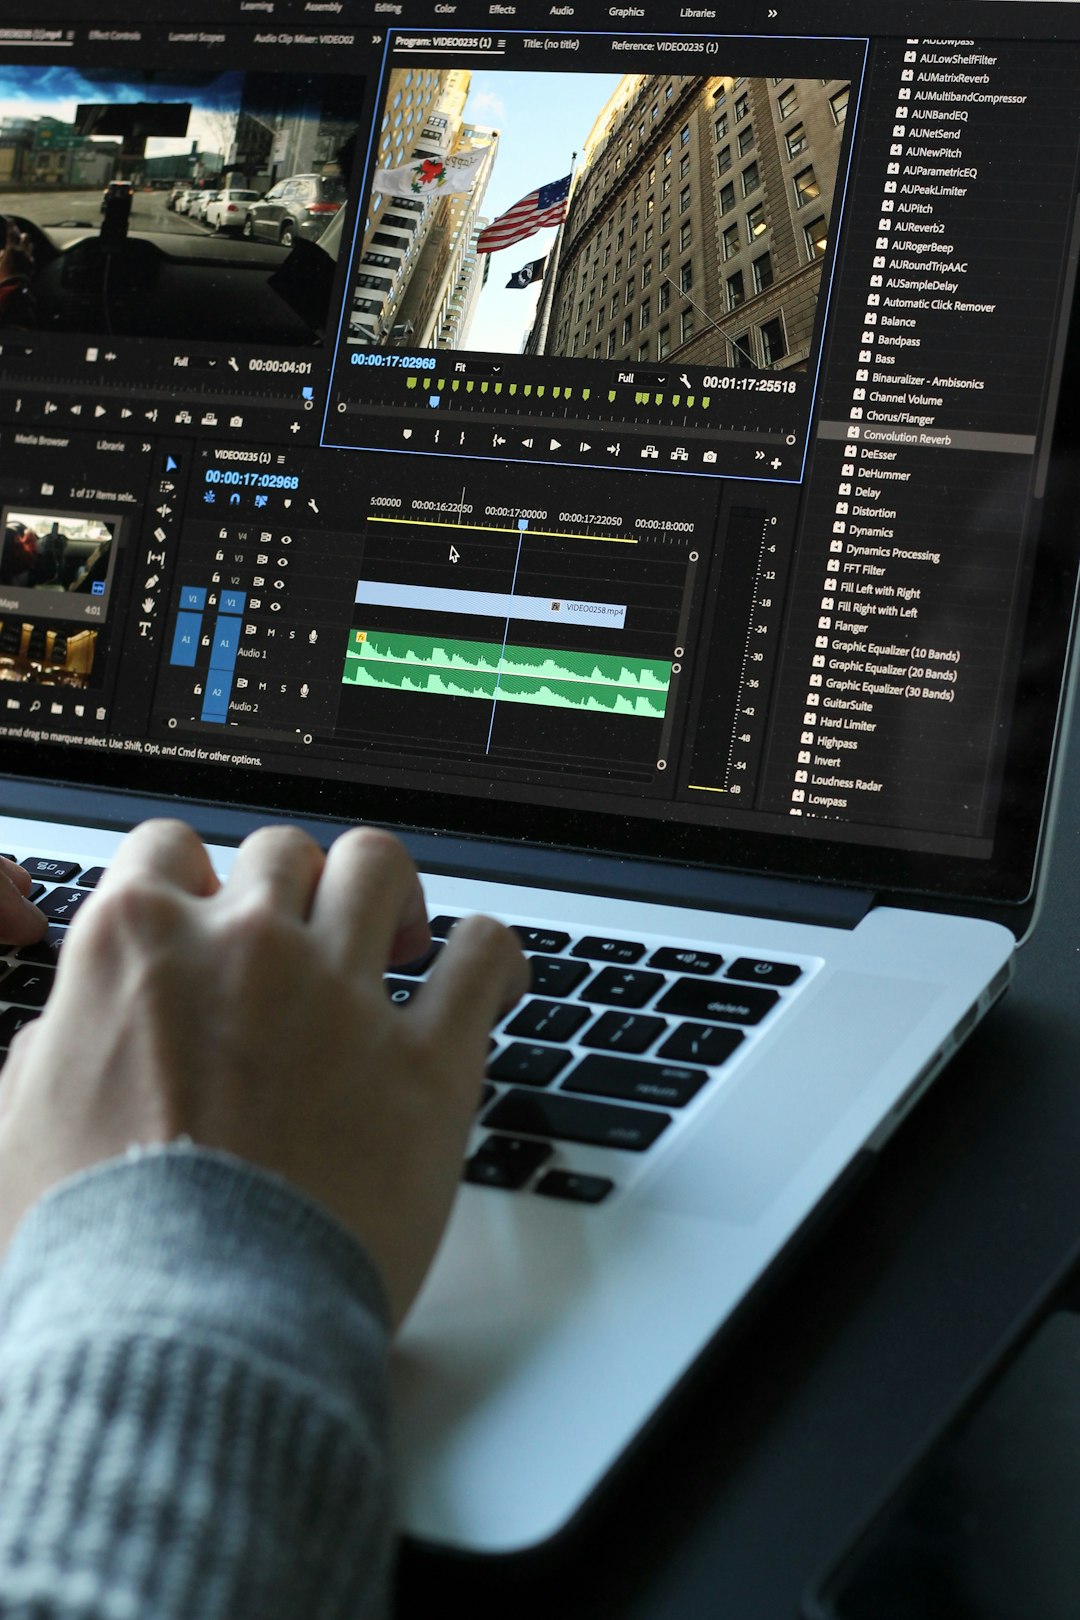
Step 3: Use the Right Video Editing Software
Most modern video editing tools allow you to import and manipulate audio tracks with ease. Choose a program that fits your skill level and budget. Here are some common options:
- Adobe Premiere Pro: Professional-grade software with advanced audio features.
- Final Cut Pro: Popular among Mac users, offers extensive sound editing tools.
- DaVinci Resolve: A free option loaded with pro-level features.
- iMovie: Beginner-friendly and ideal for light editing on macOS.
- Shotcut or OpenShot: Free and open-source alternatives for casual use.
Once you’ve chosen your software, follow these basic steps:
1. Import the Audio
Open your video project and locate the import option (usually via File > Import or a media bin). Upload the music track you want to use.
2. Sync Music with Video Timeline
Drag the audio file onto the timeline and place it under your video footage. Trim and position the track so it complements your video content. You may need to make cuts, fade-ins, or fade-outs.
3. Adjust Volume Levels
Balance is crucial. Use keyframes to adjust volume precisely, especially during parts where people are speaking. Background music should never overpower dialogue or important sound effects.
4. Add Transitions or Effects
Most editors allow you to fade music in or out, apply equalization (EQ), and even link music changes to video transitions. These add a professional touch and improve flow.
5. Preview and Export
Before exporting, always preview the entire video. Listen for inconsistencies in volume, awkward transitions, or offbeat timings. Once satisfied, export using the suitable format and compression settings for your intended platform.
Step 4: Test Across Devices
After exporting your final video, test its performance across various devices and settings. What sounds good on studio monitors might be unbalanced on mobile speakers.
Make adjustments as necessary and don’t hesitate to do multiple sound checks. This step ensures a consistent viewer experience, regardless of where your video is watched.
Common Mistakes to Avoid
Even experienced editors can make missteps when working with music. Here are frequent pitfalls and how to sidestep them:
- Using Unlicensed Music: Always ensure you have proper rights to avoid copyright claims.
- Too Loud Music: Background music should enhance, not dominate. Always adjust the volume appropriately.
- Ignoring Audience Context: Don’t choose music that might offend or alienate viewers from different cultures or age groups.
- Poor Synchronization: Music should flow naturally with your video’s visuals. Avoid abrupt starts and stops.
Alternative Tools for Quick Music Addition
If you’re looking for simpler or automated solutions, consider tools that are built specifically for quick edits:
- Canva Video Editor: Great for social media and comes with a library of free music tracks.
- Animoto: Drag-and-drop interface that includes access to licensed music.
- Kapwing: Online editor that allows audio uploads and syncs them with video clips.
These tools are ideal for creators who may not require the granular control offered by professional software but still want polished final products.
Final Thoughts and Best Practices
Adding music to video is both an art and a science. It requires understanding your audience, selecting appropriate audio tracks, and using editing software effectively. But when done right, the synergy between visuals and music can transform a simple clip into a powerful message.
Here are some best practices to guide you:
- Plan Ahead: Think about music choices during the scripting or shooting phase, not just post-production.
- Be Consistent: Maintain a consistent style of music across multiple videos to establish brand identity.
- Check Licensing Twice: Save receipts or license keys for any paid music to avoid future disputes.
- Back Up Your Files: Store versions of your video with and without music tracks for flexibility in future edits.
By applying these techniques and safeguards, you can elevate the quality of your video projects while staying within the bounds of copyright law. Remember, even the simplest videos can make a meaningful impact when paired with the right soundtrack.