

Whether you’re a gamer optimizing performance or a casual user checking compatibility for apps, knowing which graphics card is installed in your computer is essential. Fortunately, discovering what powers your PC graphically is surprisingly simple. In this guide, we’ll walk you through two easy steps to find out which graphics card you have—no need to be a tech wizard!
Why Knowing Your Graphics Card Matters
Your graphics card (or GPU) plays a crucial role in rendering images, videos, and animations. This hardware determines how well your system handles everything from watching high-definition videos to playing the latest video games or using creative design software.
Knowing your graphics card’s make and model can help you:
- Check compatibility for video editing or gaming software.
- Download the correct drivers for updates and fixes.
- Compare performance benchmarks during upgrades or purchases.
Ready to find out what GPU you have? Let’s dive in.
Step 1: Use Windows Settings or Task Manager
For most users, Windows has built-in tools that quickly reveal your graphics card information—no additional software required.
Option A: Using Windows Settings
- Right-click on the desktop and select “Display settings”.
- Scroll down and click on “Advanced display settings.”
- Here, under Display information, you’ll see the name of the graphics card next to “Display adapter properties for Display 1.”
This method is great for casual users or quick checks.
Option B: Using Task Manager
- Right-click the Taskbar and select “Task Manager”, or press Ctrl + Shift + Esc.
- Click on the “Performance” tab.
- On the left panel, select “GPU.” You’ll see detailed GPU information, including name, usage, and dedicated memory.

This view gives a more detailed look at how your GPU is performing in real-time, including utilization during heavy tasks.
Step 2: Use Device Manager for Additional Clarity
If you’re still unsure about the exact model or want to confirm your GPU details, another powerful tool is Device Manager.
Follow these simple steps:
- Press Win + X and select “Device Manager” from the list.
- Expand the section called “Display adapters.”
- You’ll see the name(s) of the installed GPU(s), such as “NVIDIA GeForce GTX 1660” or “Intel UHD Graphics.”
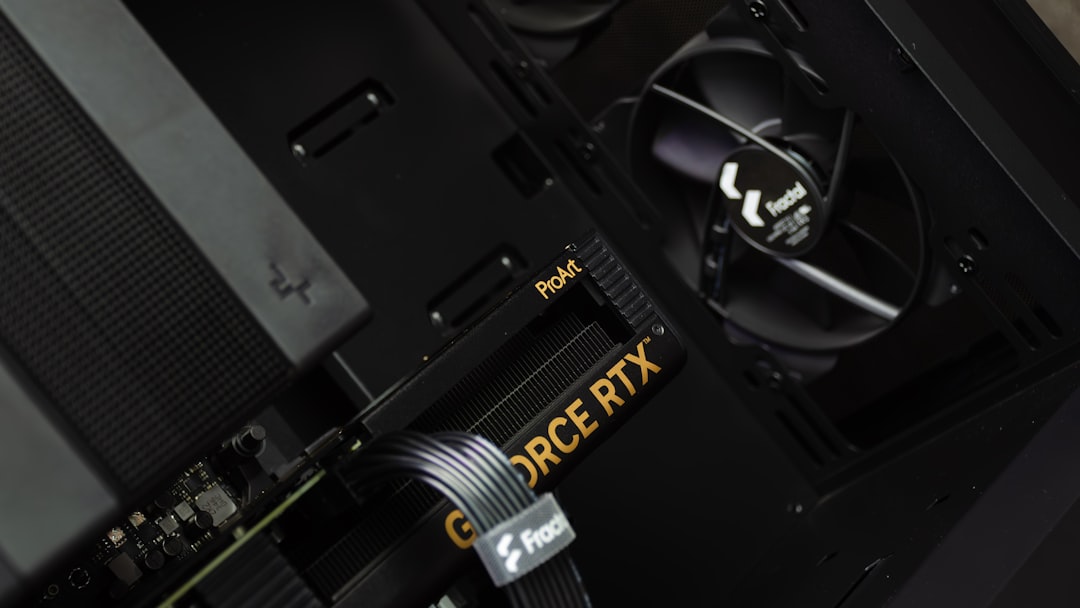
Device Manager is especially useful if your system has both integrated and dedicated graphics cards, as it shows all available adapters.
What If You’re Using a Mac?
If you’re on a Mac, the steps differ slightly but are just as easy:
- Click the Apple menu and choose “About This Mac.”
- Under the Overview tab, you’ll see the graphics card listed next to “Graphics.”
This works for both MacBook laptops and desktop Macs. Easy peasy!
Bonus Tip: Use Dedicated Software for Deep Details
If you’re someone who wants to go the extra mile, software like GPU-Z, Speccy, or HWMonitor can tell you detailed specs such as memory bandwidth, clock speeds, temperature, and more.
Such tools are excellent for gamers and advanced users who want to monitor performance or check compatibility in depth.
Final Thoughts
That’s it! In just two easy steps, you can identify which graphics card lives inside your computer. Whether you’re running a simple integrated GPU or a high-end RTX card, the process takes only minutes and doesn’t require extra installations.
Now that you’ve uncovered your GPU’s identity, you can make smarter tech decisions—from driver updates and software installs to system upgrades and performance tweaks.
Knowledge truly is power—especially in the world of tech.