
Use Secure Erase when you are selling, donating, or recycling an SSD. Use standard formatting when you just want to reinstall Windows, clean up a drive, or start fresh on a computer you still own. That is the big answer. SSDs are sneaky little storage boxes, so old hard drive habits do not always work.
TLDR: A standard format is fast, but it mostly removes the file index. A Secure Erase tells the SSD to wipe its memory cells or reset its encryption key. For example, a 1 TB SSD may format in under 30 seconds, while Secure Erase often takes 2 to 10 minutes. If 100 people sell used laptops, the smart 100 should Secure Erase first.
What Is Standard Formatting?
Standard formatting is the “make it look empty” option.
It creates a fresh file system. That file system might be NTFS, exFAT, APFS, or ext4. Your computer then acts like the drive is clean.
But here is the annoying part. The files may not be truly gone.
A quick format usually deletes the map. It does not erase every house on the map. Data recovery tools may still find pieces of old files.
A full format may write over storage areas. It may also check for bad blocks. On SSDs, this is less clear than on old hard drives. SSDs use tricks behind the scenes. They move data around to reduce wear.
That trick is called wear leveling. It is great for drive life. It is not great for simple wiping.
It drives me crazy that a drive can look empty and still have old data hiding in spare areas. But that is how SSDs work.
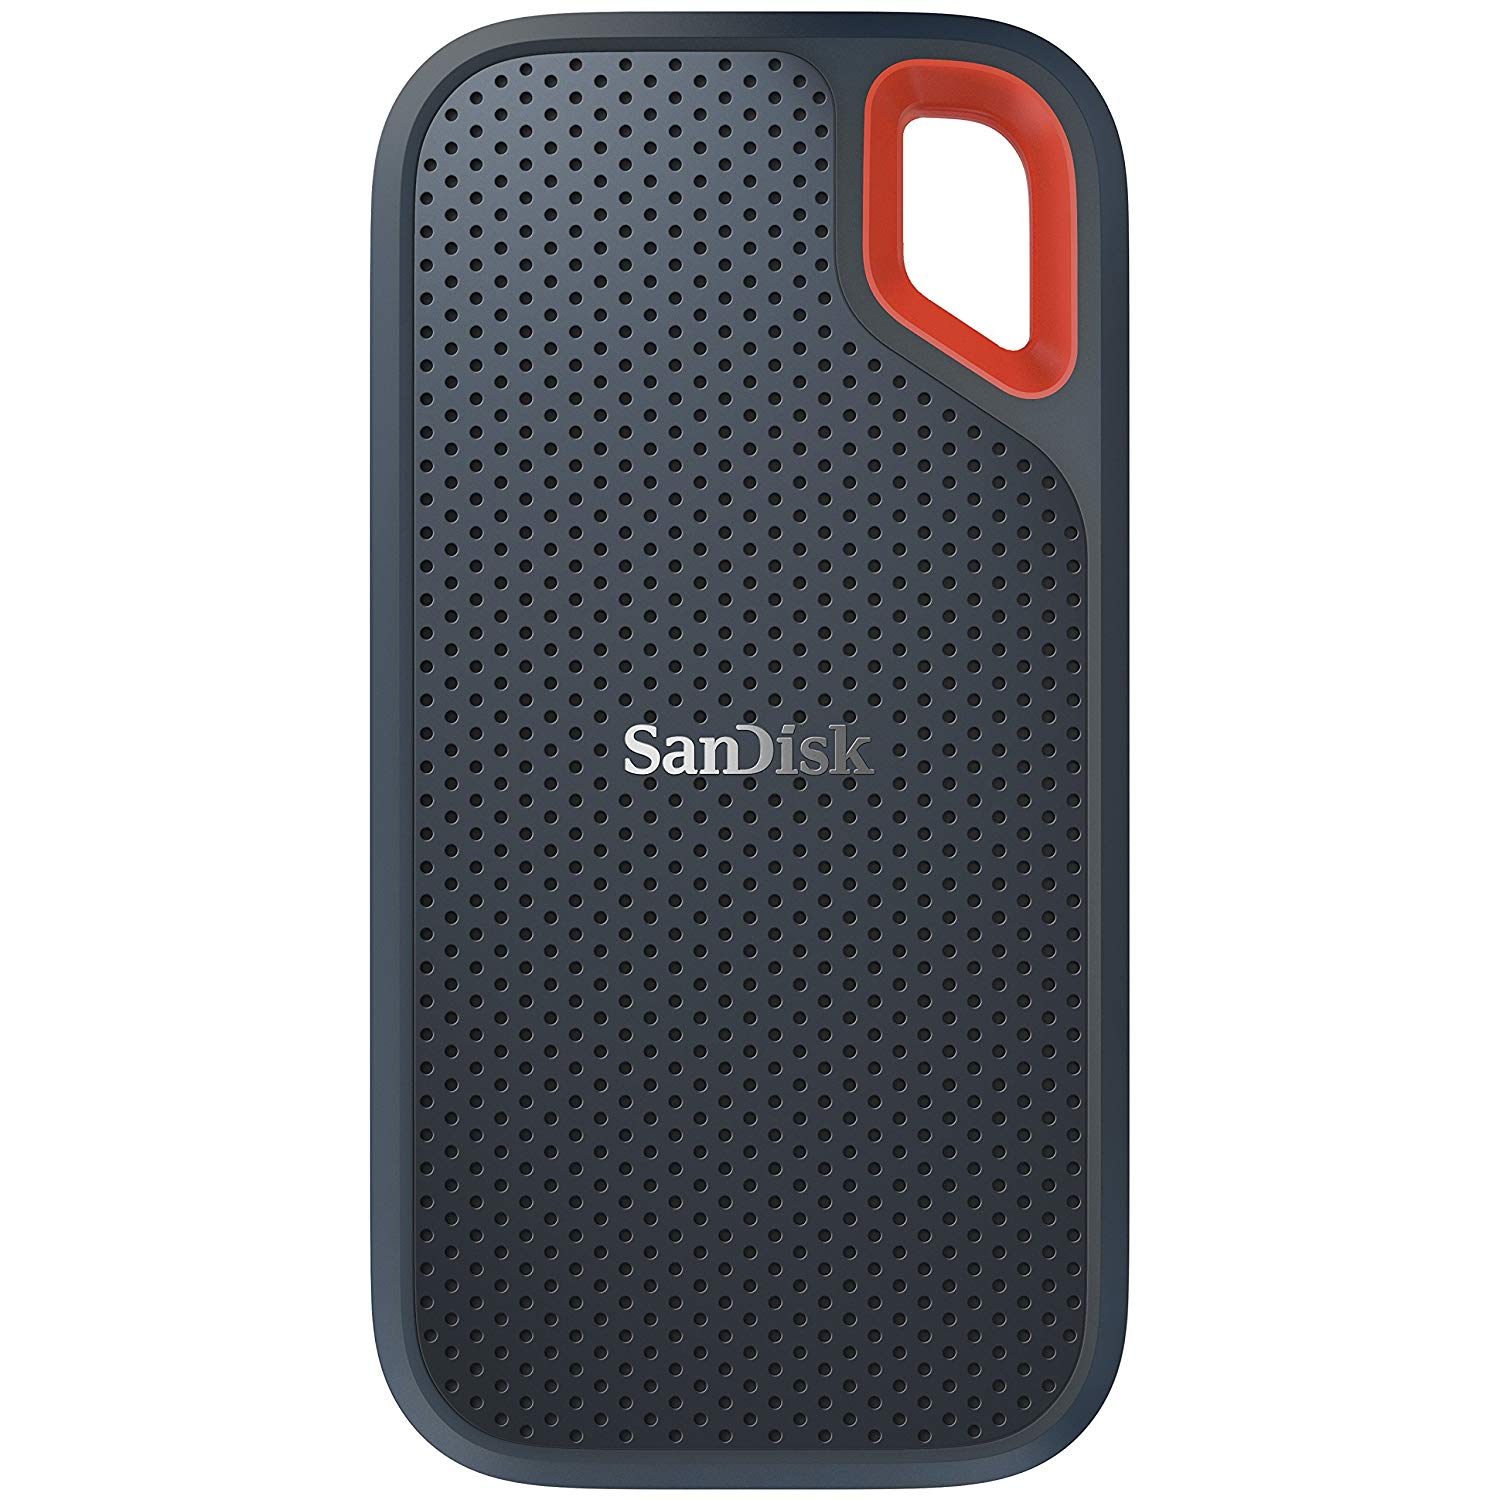
What Is Secure Erase?
Secure Erase is the “burn the map and clear the town” option.
It is a command sent to the SSD controller. The controller is the little brain inside the drive. It knows where the real data lives.
Secure Erase can do one of two things:
- Erase the NAND cells. These are the memory chips inside the SSD.
- Reset the encryption key. This makes the old data unreadable almost at once.
Many modern SSDs are always encrypting data in the background. You may not even notice. If Secure Erase destroys the key, the old data turns into useless digital soup.
For NVMe SSDs, you may also see terms like Sanitize or Format NVM. These are similar ideas. They are built for newer drives.
Secure Erase vs Standard Format: The Simple Difference
| Method | What It Does | Best For |
|---|---|---|
| Quick Format | Removes the file index. | Fast reinstall or reuse. |
| Full Format | Checks the drive and may overwrite areas. | Basic cleanup on your own PC. |
| Secure Erase | Wipes cells or resets encryption. | Selling, donating, or disposal. |
If the SSD stays with you, standard formatting is usually fine. If the SSD leaves your hands, use Secure Erase.
That rule is boring. It also works.
Why SSDs Are Different From Hard Drives
Old hard drives store data on spinning platters. If you overwrite the same spot, you usually hit the same spot.
SSDs do not work that way.
An SSD spreads writes across many cells. This keeps the drive healthy. It also means a normal overwrite may miss old data stored in hidden spare blocks.
SSDs also use TRIM. TRIM tells the drive which blocks are no longer needed. The drive can clean them later.
TRIM helps performance. It may also make deleted files harder to recover. But do not treat TRIM as a full security wipe. It is more like a cleanup request than a signed promise.
When Should You Use Secure Erase?
Use Secure Erase in these cases:
- You are selling a laptop.
- You are donating a desktop.
- You are returning a company computer.
- You are recycling an old SSD.
- You stored tax files, medical records, client files, or passwords.
Think of it this way. If a stranger may touch the drive, wipe it properly.
Expect to waste time on some vendor tools. One tool may find the SSD in 5 seconds. Another may spin for 40 seconds, ask for a reboot, then pretend nothing happened. Storage software has a special talent for being weird.

When Is Standard Formatting Enough?
Standard formatting is fine when privacy risk is low.
Use it when:
- You are reinstalling your own operating system.
- You are clearing a game drive.
- You are fixing file system errors.
- You are changing from Windows to Linux.
- You are setting up a drive for a new project.
Quick format is the fastest. Full format takes longer. For a 2 TB SSD, a full format can take far more time than expected. It may not give you much extra privacy either.
If you want clean and private, do not guess. Use Secure Erase.
How To Secure Erase an SSD
The exact steps depend on your drive. Still, the basic idea is simple.
- Back up your files. Secure Erase is not a recycle bin. It is a shredder.
- Check the SSD brand. Samsung, Crucial, Kingston, WD, Intel, and others offer tools.
- Download the official tool. Use the maker’s site when possible.
- Plug in power. Do not do this on a dying laptop battery.
- Pick Secure Erase, Sanitize, or Format NVM. The name may vary.
- Confirm the warning. Yes, the scary warning is real.
- Wait until it finishes. Do not shut the machine off.
After that, the SSD should be blank. You can then reinstall the operating system or hand the drive off.
Useful Tools for Secure Erase
Here are common options:
- Samsung Magician for Samsung SSDs.
- Crucial Storage Executive for Crucial SSDs.
- WD Dashboard for Western Digital and SanDisk drives.
- Kingston SSD Manager for Kingston drives.
- Parted Magic for many SATA SSDs.
- Linux nvme cli for NVMe drives.
Use care with command line tools. They are powerful. They also have no sympathy.
One wrong drive name can erase the wrong disk. That is not a fun afternoon.
What About Encryption First?
This is a smart move.
If your SSD is encrypted before you wipe it, your data already has a strong lock. Secure Erase then removes access to what is left.
On Windows, you may use BitLocker. On macOS, use FileVault. On Linux, many people use LUKS.
For extra safety, encrypt first, then Secure Erase. This is useful for laptops with personal files.

Common Mistakes to Avoid
- Do not only delete files. Deleted is not erased.
- Do not rely on the recycle bin. Emptying it is not enough.
- Do not use old hard drive wiping habits. Multiple overwrite passes are not ideal for SSDs.
- Do not wipe the wrong drive. Unplug extra drives if you can.
- Do not interrupt the process. A failed wipe can cause stress and a very long evening.
Final Recommendation
Pick the method based on where the SSD goes next.
If it stays with you, a standard format is simple and fine. If it goes to someone else, use Secure Erase. If the drive held sensitive data, encrypt it first if possible.
Quick format means “ready to reuse.” Secure Erase means “ready to let go.”
That is the whole deal. Tiny drive. Big privacy risk. One smart wipe can save you from a very awkward surprise later.