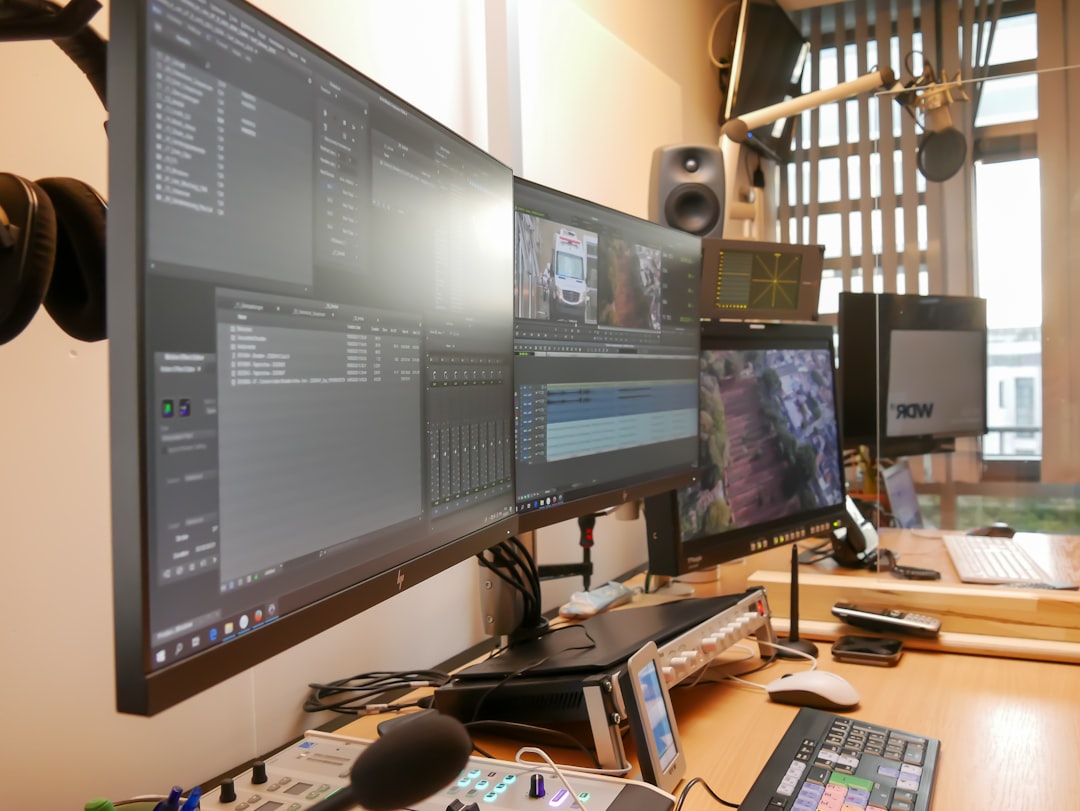
Editing videos in Movavi is designed to be intuitive, even for beginners. However, one feature that can sometimes become frustrating—especially when working on precise edits—is snapping. While snapping helps align clips, titles, and transitions automatically, there are moments when you need absolute freedom to place elements exactly where you want them. If you’ve ever felt your clips “jump” into position when you try to move them, snapping is the reason.
TLDR: Snapping in Movavi automatically aligns clips and elements on the timeline, which can help maintain accuracy but may limit precise manual adjustments. You can turn it off by accessing the timeline tools or snapping icon in the toolbar. Disabling snapping allows smoother, frame-by-frame placement without auto-alignment. This guide walks you through when and how to disable snapping for better control.
What Is Snapping in Movavi?
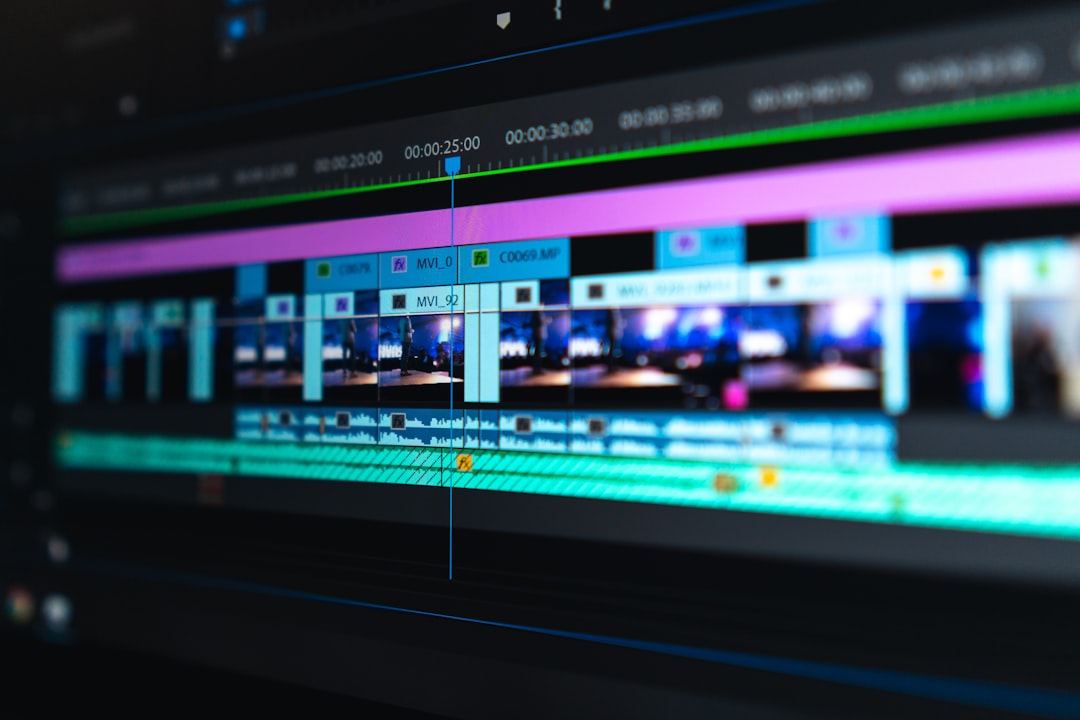
Snapping is a timeline alignment feature that automatically “locks” clips to nearby elements—such as other clips, markers, transitions, or the playhead. Its primary goal is to help editors avoid accidental gaps or overlaps.
When snapping is enabled, you may notice:
- Clips automatically attaching to the end of another clip
- The playhead jumping to clip edges
- Titles or overlays aligning perfectly with cut points
- Markers attracting clips when dragged close
For beginners, this can be incredibly helpful. It keeps the timeline clean and structured. But for more advanced or detailed edits, snapping can feel restrictive.
Why You Might Want to Turn Off Snapping
While snapping provides structure, there are several creative scenarios where disabling it improves workflow.
1. Frame-Perfect Adjustments
If you’re trying to align a clip slightly before or after another element for dramatic timing, snapping can interfere by forcing alignment.
2. Creating Intentional Gaps
Sometimes you want silence or visual spacing between clips. Snapping often prevents these gaps.
3. Overlapping Audio Layers Precisely
Fine-tuning audio crossfades or ambient sound layers requires subtle positioning. Snap alignment can interrupt this process.
4. Complex Multi-Layer Edits
When working with overlays, B-roll, titles, and effects across multiple tracks, snapping may cause elements to jump unpredictably.
In short, turning off snapping gives you more creative freedom.
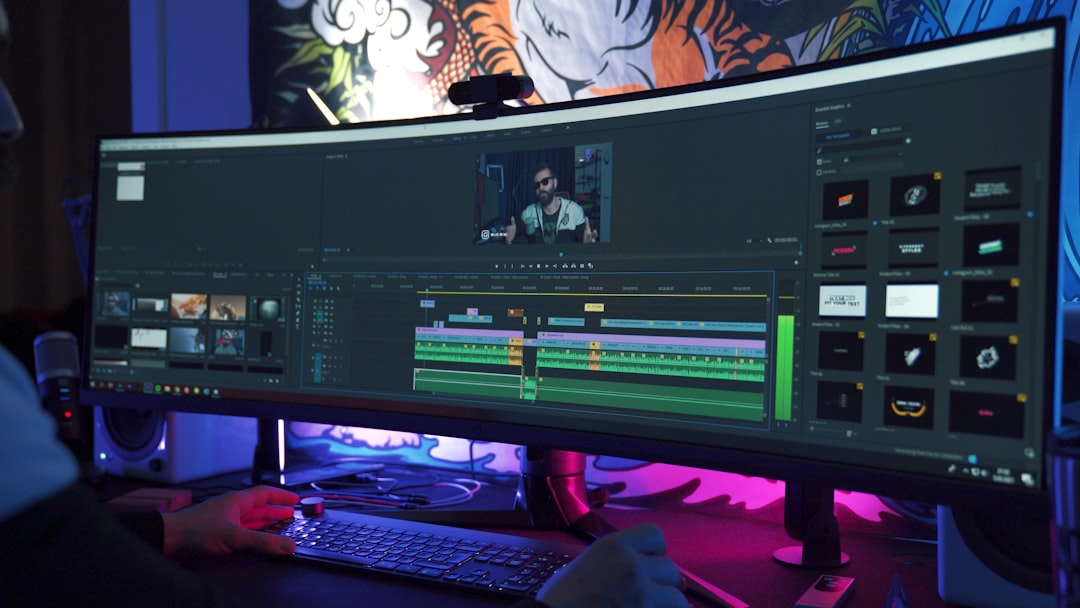
How to Turn Off Snapping in Movavi (Step-by-Step)
Disabling snapping in Movavi is a straightforward process. Follow these steps:
Step 1: Open Your Project
Launch Movavi Video Editor and open the project you’re working on. Make sure your timeline is visible.
Step 2: Locate the Snapping Icon
Look at the toolbar above the timeline panel. In most versions of Movavi, snapping is represented by a magnet icon. This icon indicates whether snapping is enabled or disabled.
- If the magnet icon is highlighted or pressed in, snapping is active.
- If it is not highlighted, snapping is disabled.
Step 3: Click to Toggle Off
Simply click the magnet icon to toggle snapping off. Once disabled, you should be able to drag clips freely without automatic alignment.
Step 4: Test the Movement
Drag a clip slightly along the timeline. If snapping is off, it should move smoothly without jumping toward nearby elements.
That’s it. No advanced settings required.
Alternative Access: Checking Timeline Settings
Some versions of Movavi may also include snapping options inside timeline or editing settings. If you don’t see the magnet icon:
- Right-click inside the timeline area
- Look for a Snapping option in the dropdown menu
- Uncheck the box if enabled
This offers an alternative way to manage snapping behavior.
How Snapping Affects Different Timeline Elements
Snapping doesn’t just apply to video clips—it influences several types of elements.
| Element Type | Snapping Behavior | Impact When Disabled |
|---|---|---|
| Video Clips | Aligns to clip edges and playhead | Free placement anywhere on track |
| Audio Clips | Snaps to adjacent audio or markers | Smoother crossfade positioning |
| Titles | Aligns to cuts and scene boundaries | Flexible timing adjustments |
| Markers | Draws clips to marker points | Precise manual marker alignment |
| Transitions | Locks to clip joins | More granular effect timing |
This comparison shows that disabling snapping enhances micro-adjustments across all track layers.
When You Should Keep Snapping On
Even though turning snapping off can be useful, there are scenarios where keeping it enabled saves time:
- Editing fast-paced content with many cuts
- Creating structured YouTube videos
- Ensuring no black frames appear between clips
- Building slideshows or presentations
- Basic beginner editing
Think of snapping as a safety net. While professionals may toggle it off when precision matters, beginners often benefit from its structure.
Tips for Editing Without Snapping
Turning snapping off may initially feel slightly chaotic if you’re used to automatic alignment. Here are tips to stay organized:
Zoom Into the Timeline
Use the timeline zoom slider to enlarge your editing view. This improves frame-level precision.
Use Markers Strategically
Even with snapping disabled, markers help guide visual alignment.
Turn Snapping Back On When Needed
You don’t have to commit permanently. Toggle snapping on for structural edits and off for fine adjustments.
Check for Tiny Gaps
When snapping is disabled, small gaps between clips become more common. Zoom in and verify there are no unintended breaks.
Common Issues After Turning Off Snapping
Sometimes users disable snapping and notice unexpected results. Here’s what to watch out for:
- Accidental gaps: Tiny spaces can cause black frames in playback.
- Misaligned audio: Slight offsets might create echo effects.
- Transition placement challenges: Transitions work best at clip edges.
If any of these happen, simply toggle snapping back on temporarily to correct alignment.
Advanced Workflow: Combining Snapping with Keyboard Shortcuts
Experienced editors often alternate snapping dynamically during sessions.
A productive workflow might look like this:
- Enable snapping for rough cut editing
- Disable snapping for detailed timing adjustments
- Re-enable snapping for final arrangement
This hybrid method balances structure with creative liberty.
Does Turning Off Snapping Affect Export Quality?
No. Snapping is strictly a timeline placement feature. It has:
- No impact on video resolution
- No effect on rendering speed
- No influence on audio quality
It only changes how elements behave during editing.
Movavi Version Differences
While the snapping feature exists in most modern versions of Movavi Video Editor, the interface layout may vary slightly:
- Older versions may hide the snapping option under timeline settings.
- Newer versions feature a visible magnet icon.
- Movavi Plus editions may include enhanced timeline customization.
If you cannot find the snapping toggle, check Movavi’s help documentation or update your software to the latest version.
Final Thoughts
Snapping in Movavi is like training wheels for editing—it keeps everything aligned and neat. However, creative storytelling often demands flexibility beyond rigid alignment points. Disabling snapping allows you to make subtle timing adjustments, create intentional gaps, and experiment with layered audiovisual storytelling.
The key takeaway is simple: Snapping is a tool, not a rule. Use it when it helps. Turn it off when it limits you.
By understanding how to toggle snapping and when to apply it, you’ll gain greater control over your editing process and produce videos that feel more refined, intentional, and polished.
Now that you know how to turn off snapping in Movavi, try experimenting in your next project. A few pixels of difference can transform the rhythm and flow of your video in powerful ways.